I'm much happier to share the first instalment of this game than the last as the collection & tabletop are both coming together very nicely. It's still building though, more villages, more toys & more hills are all in the pipeline. Basing the armies had a huge impact on the aesthetic. Next up - flags.
Battle in the shadow of the Wolf.
As local legend would have it the broad flat valley below the wooded foothills of ruined Wolf Tower have been host to much armed conflict. This year, 1809, two armies once again face off in the sunshine.

|
Looking northwest from the Austrian reserves towards the French extreme right flank.
Here massed Cuirassiers & Grenadiers to their left await the release orders.
In front of them an infantry brigade sets off towards the river line. |
The objectives are strategic to the overall campaign, namely control of the road junctions securing the passage of large volumes of troops. The river fordable this summer but the bridge is still important for artillery & baggage wagons. Control of an objective needn't be about sitting a unit on it, exercising control over it is the important thing - we can judge this like adults, I think...
 |
| Austrian infantry brigade in the centre right aimed at the town beyond the cute farm just over the river! |
 |
Looking right from the Austrian centre, so north east...
Grenadiers with 12lb battery on the backline, an infantry brigade crossing the river screened by two light cavalry brigades.
Their objective is the junction just beyond the small hill. |
 |
| This must be turn two, these boys are approaching the river, their battery is deployed way up front behind the tree line. |
 |
| Austrian infantry brigade just left of centre making for the gap between the wood & Cathedral; skirmishers are already over. |
 |
The Austrian extreme left with an infantry brigade & screening light cavalry brigade.
These fellas have a long journey ahead of them. |
 |
| Lovely long shot from the Austrian extreme right looking roughly west/north west. |
 |
| French Old Guard cavalry in reserve. This is a handy formation to have up your sleeve! |
 |
| Nice shot of this village & surrounds. The French battery waits for target. |
 |
| Up front & centre the French form a Grand Battery. Something like this is a great way to deny space to the enemy. |
 |
| Friant's brigade thinly spread on the French right. |
 |
The Austrian left sets off on a long flank march towards Friant's position.
Infantry brigade screened by a light cavalry brigade. |
 |
Tony's central brigades nears the river line.
Lovely castle & village by Total Battle Miniatures. |
 |
| Chris slapped down this Lilliput Lane ecclesiastical edifice to wind me up I think. It's presence caused an unplanned bottleneck on the Austrian left. |
 |
| French Carabinier in reserve on the back line - Veteran heavies of the first order. |
 |
| French cuirassiers in reserve - not so shabby either. |
 |
The township near the foothills & forests which conceal Wolf Tower. These chaps have a lot to answer for historically.
Bah! |
 |
Von Hammer leads a seemingly powerful Austrian cavalry brigade; 2 x 32 Uhlans & 1 x 32 Hussars.
These hombres are to screen the infantry brigade behind & threaten the French Hussars opposite & possibly force a few French battalions into square. Note French flags... doh! |
 |
| To the right of the above is Mayer' brigade with Austrian Chevau Legere, smaller regiments & not quite as pokey in combat. |
 |
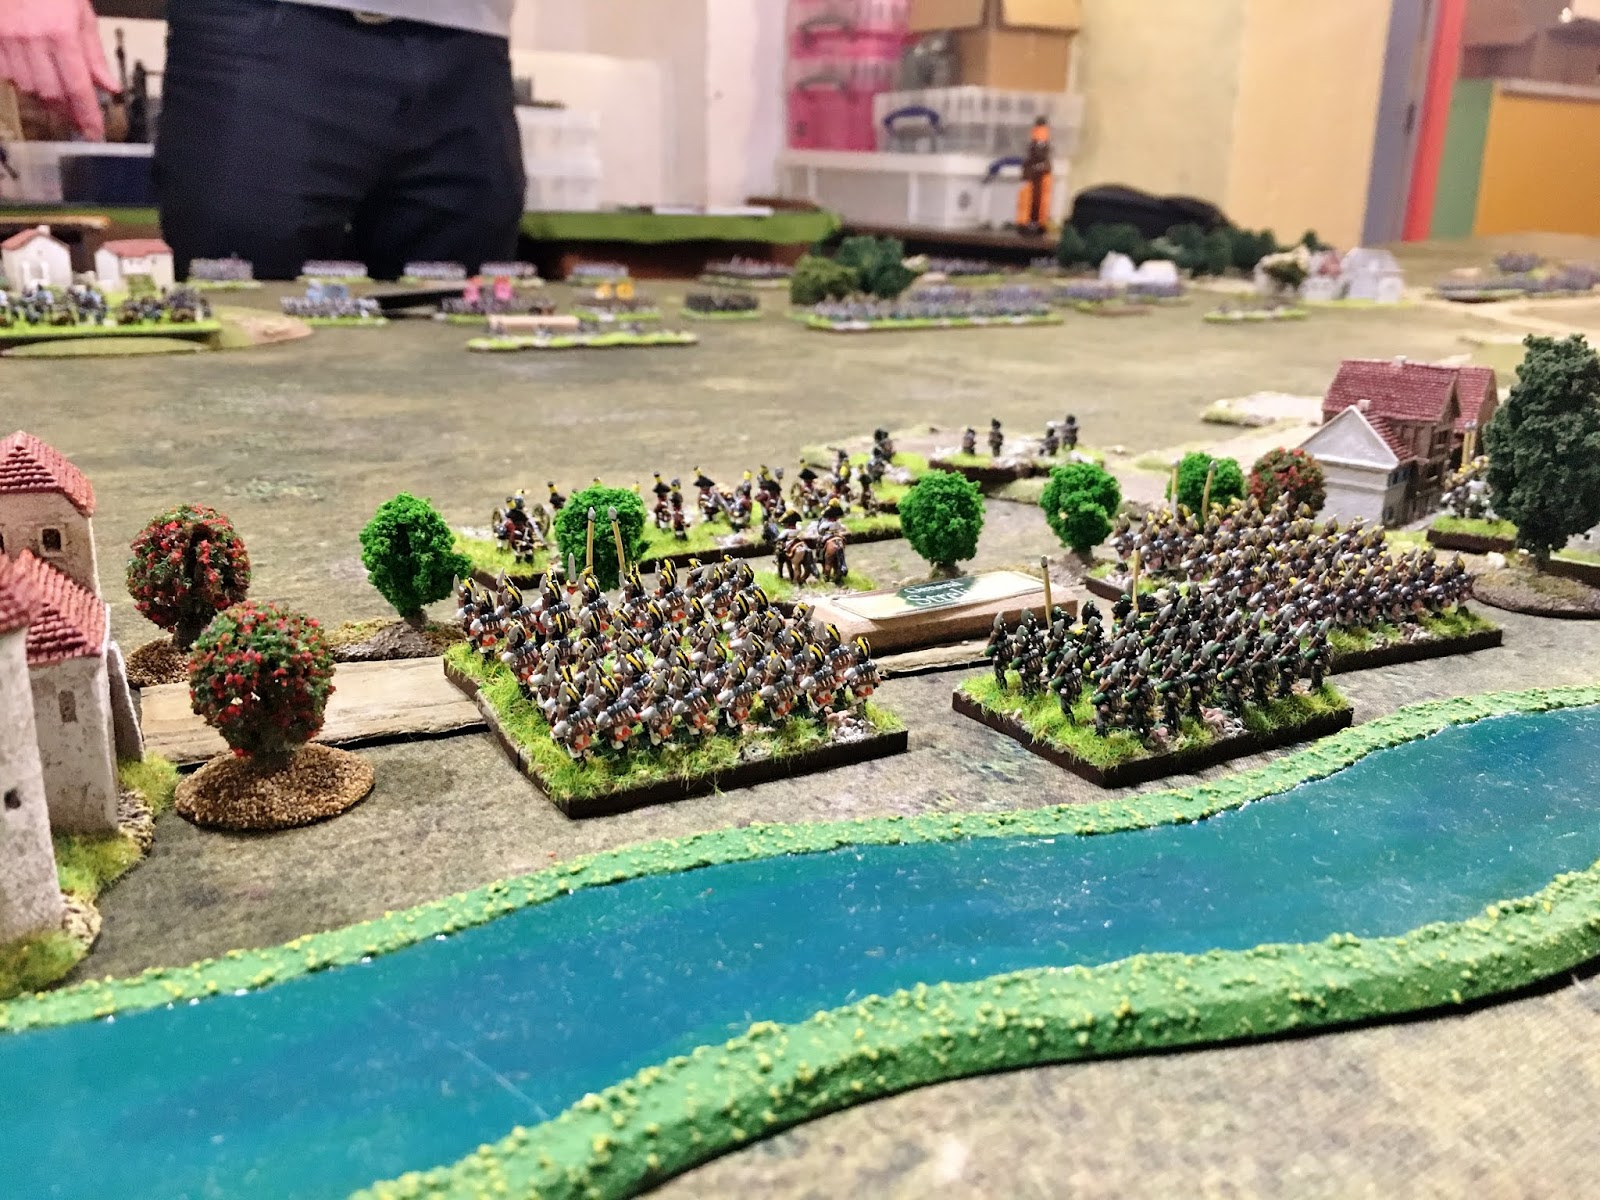
The first Austrians to establish a bridgehead on the north bank. They pour round shot into Chris's fingers.
Luckily the French decided not to race forward & challenge the river line instead playing a canny delaying action by holding their lines in depth. |
 |
| A second Austrian brigade gets across quickly establishing a foot battery. |
 |
| This innocuous picture plants the seeds for serious developments in this game. See text below... |
Genius on the French left...
Here's a clever thing! Chris commanding the French is outnumbered except in artillery batteries, I think 10/9. In infantry it's more like 34/29 to the Austrians & in cavalry 12/9 favouring the Austrians again. To counter this Chris anchored each extreme flank with a Cuirassier brigade each of two regiments, one on each flank. On his left he was out numbered by a large infantry brigade with large
battalions screened by far superior cavalry forces to his one regiment of hussars - crucially with a horse battery attached. As the Austrian horse approached so the two batteries opened up to bloody affect. For no other reason than to bring up another battery Chris released his left flank brigade of Cuirassiers with attached horse battery; these benefited from a forwards order too so were quickly inserted into the line. Thus the French brought three batteries to bare on the Austrian light cavalry & faced them off with veteran heavy cavalry - proper bummer!
 |
The Austrian heavy cavalry reserve sensibly waiting behind the centre.
4 x 32 veteran Cuirassiers. |
 |
| These fellas had a late breakfast & pissed about a bit before setting off to support the Austrian right & taking the junction & Gruber's farm just ahead. Slackers! |
 |
| Here we are again on the Austrian right - clearly if the French heavies launch a big charge here they could overrun the limbered battery & arrest the Austrian forward movement on this flank. |
 |
Chris wishes us well in ye olde english waye! Presumably learned from the redcoats in the Peninsular.
Here a trailing French brigade marches up the road through woods to prop up the French left. |
 |
This Austrian crossing point is opposite the French massed artillery in the centre so these fellas are safe
behind this low hill. |
 |
| As soon as I was able the right hand Grenadier brigade was released with their 12lb batteries to support the right. |
 |
| Developing the Austrian centre. |
 |
| Hungarian Grenz in the Austrian army. These frontier troops were often sharpshooters or huntsmen - so fine skirmishers. |
 |
Here's how a carefully planned battlefield gets fucked up...
Chris loves this Lilliput Lane church to an unreasonable extent; having set up he then shoved this ornament onto this hill.
I left it - foolishly. This caused an unexpected bottleneck delaying Austrian deployment & holding up the game!
Must be poor cartography in the map department. Nevermind, I'm a softy. |
 |
| Disaster on the Austrian right! The French artillery caused havoc among the approaching horse before their Cuirassier routed the Austrian Chevau Legere killing brigadier Mayer in the combat before charging on into the Uhlans who were roundly thrashed too! |
 |
| Frau Mayer mourns the death of her beloved brave husband to a monstrously mustachioed French Cuirassier. |
 |
| Grim odds for the poor uhlans - thrown back in utter defeat & removed from the roster & history! |
 |
| An Austrian infantry brigade stoically pushing on... |
 |
| French reinforcements arrive along this narrow road past fields, woods & townships towards the "sound of the guns!" |
 |
Wurtemberg foot battery & limber painted by Tony.
Conscious of the lack of limbers I just ordered about 20, one per battery. Caissons to follow. |
 |
Same battery & limber.
Chris was unfortunate with two of batteries as they ran out of ammo burning more command resources to replenish them. |
 |
Frustration incarnate! Chris stripped out batteries to deploy this central Grand Battery opposite the French centre.
Sadly the Austrians weren't keen to mass in the centre to provide a juicy target - maybe next week?
|
I think we played 7 turns having deployed & drawn up rosters & plans. The space available & limited troops mean this one is a "builder" for now. Next week we'll get properly stuck in. When more troops are available we'll use the two back boards too for deep reserves & flank marches etc.
If you're new to Marauder Moments have a poke about, there's loads of Napoleonic goodness to be found here.
Pop back for the sequel next week. Best wishes,
Jeremy


Looks great and glad to see this new project kicking off, nicely done Jeremy!
ReplyDeleteCheers chum! Glad you approve of our efforts so far, much more to come.
DeleteBest wishes,
Jeremy
The new stuff is looking great.
ReplyDeleteI think it looks more like the paintings of the great battles when using smaller figures.
Bravo Scrivs! That's the exact look I'm going for, so you Sir just made my day. Many thanks,
ReplyDeleteJeremy