Welcome to Marauder Moments - a chronicle of the Mortimer Street Marauders; the games we play, the rules we use, the figures we play with and the scenery they fight over. Hope you enjoy these pages and maybe call back to catch up with our escapades.
Showing posts with label Battle Report. Show all posts

Thursday, 8 April 2021

The worst spy in history? - A Black Seas scenario & pretty pictures.

 Another game of Black Seas with a "home brew" scenario. 

Battle unfolds around the Island of Tolentino.

The dastardly British agent, Alfred Carstairs, has blown his cover after telling all to a well endowed lady in port (after too much wine & merry making). Had he thought for one second he would have realised she was way out of his league - foolish man, we've all been there. With his secret out & French authorities after him he boards a fast brig & flees across the sunny Mediterranean. He carries a cache of documents detailing movements of French & Danish merchantmen. The Royal Navy intend to use this information to instruct privateers to "intercept" these vessels seizing their valuable cargoes. 

The undoing of Alfred Carstairs (doing his duty...?).

Carstairs is about to make his second mistake...   His Brig approaches an island with an impressive building on the headland. The skipper informs him that this is the Monastery of Saint Gabrio on the island of Tolentino. "Make land here!" instructs the arrogant Englishman! Soon he & the crew are being fed & watered by monks & chatting with the Abbott, Carstairs claims "sanctuary". With a bottle of Communion wine in him Carstairs brags about his escape & tells his life story to the attentive Abbott. It seems Carstairs is the son of a protestant minister in Wiltshire, England... Once the visitors are asleep the Abbott, a devout Roman Catholic, sends news to the pursuing Franco Danish fleet. Carstairs has betrayed himself again.   

The next morning sees the Franco Danish fleet deploying near Tolentino island. Their movements have not gone unnoticed though as a Royal Navy squadron has followed them under cover of darkness - they mean to get their man back, or at least the plans! We have a battle to fight!

Carstairs brig seen moored at the Island of Tolentino. The Abbey of St. Gabrio on the headland.
Part of the French squadron circles in the background.

Royal Navy frigate & three brigs in line.  

Top of the screen we see three Danish 3rd rates & a frigate entering the fray.
Bottom right are three Royal Navy 3rd rates & a frigate.   


Within a couple of turns all hell breaks loose! The Danish 3rd rate, dead centre, is in deep trouble & about to strike colours. The one in front of it takes damage from running aground & the last one, the frigate, is on fire but limping away. Nearly the whole Danish squadron is a mess! My fault.   

French ships mob a Royal Navy 3rd rate inflicting critical damage.

Royal Navy brigs drop anchor near Carstairs' moored brig.
Maybe they plan to row ashore to rescue their man?

More of the ill fated Danish squadron.
Despite having struck the Royal Navy keep up their fire & the 3rd rate sinks after horrendous raking fire up the jacksie!

The only Danish 3rd rate to escape the British onslaught intact. 
The abbey & island look great from here. Wonder if Carstairs has sobered up yet?  

Good shot of the Abbey of St Gabrio. 

The Abbey & walled grounds again. 
The building is a 6mm resin casting from "Total Battle Miniatures". Island by "Mike at the Scene", trees from "Tree Fellas".

The remaining British ships getting mauled by the passing French squadron.

The only unscathed Danish ship rakes a Royal Navy 3rd rate who promptly strikes her colours having been battered by the passing French ships moments earlier!  
    
The French squadron finishing off the Royal Navy Brigs. 

Carstairs' fate is sealed. A rather charred Danish ship sets anchor preventing his escape while the Royal Navy sail off to repair & recuperate.

The French Navy will have the honour of capturing Carstairs as the Danes are still repairing their remaining ships after fires & hull damage after hitting submerged rocks. Moreover, the Lutheran Danes might not be so welcome at the Abbey?    

This was another great game, fast & furious! The seas were glassy calm which helped. Getting to grips with the rules slowly but surely. The Royal Navy national traits are excellent in gun fire & command/control. The enemy fleet we rated as French with sturdy ships, frankly this saved the entire Danish squadron from going to the bottom almost immediately !!!

I have just unpacked a 1st rate and some resin bases from Warlord Games so can't wait to get stuck into those.

Hope you enjoyed this short visit to the Mediterranean. Carstairs got drunk with the French Captain, but that's another story...

I'll do a few more of these if they prove popular & some updates on the painting front too.

Stay safe. Very best wishes,

Jeremy  


Tuesday, 9 February 2021

Flutzen 1809 part 2 - high tide & collapse.

 The French response to the Austrian surprise attack at dawn is now taking shape. Elements of supporting Divisions are arriving along with the Old Guard & Napoleon. Will this be enough to stem the "white tide" & turn it back.

Please refer to Part 1 of this report to refresh your memories on how this game was designed & the early turns. Apologies for the lateness of this final installment.   

Polish progress in the deep south

The Polish Division arrives & deploys for action. Here the two Polish infantry brigades march to the sound of the guns. The attached light cavalry brigade of two Polish uhlan regiments deploy between the woods.
 
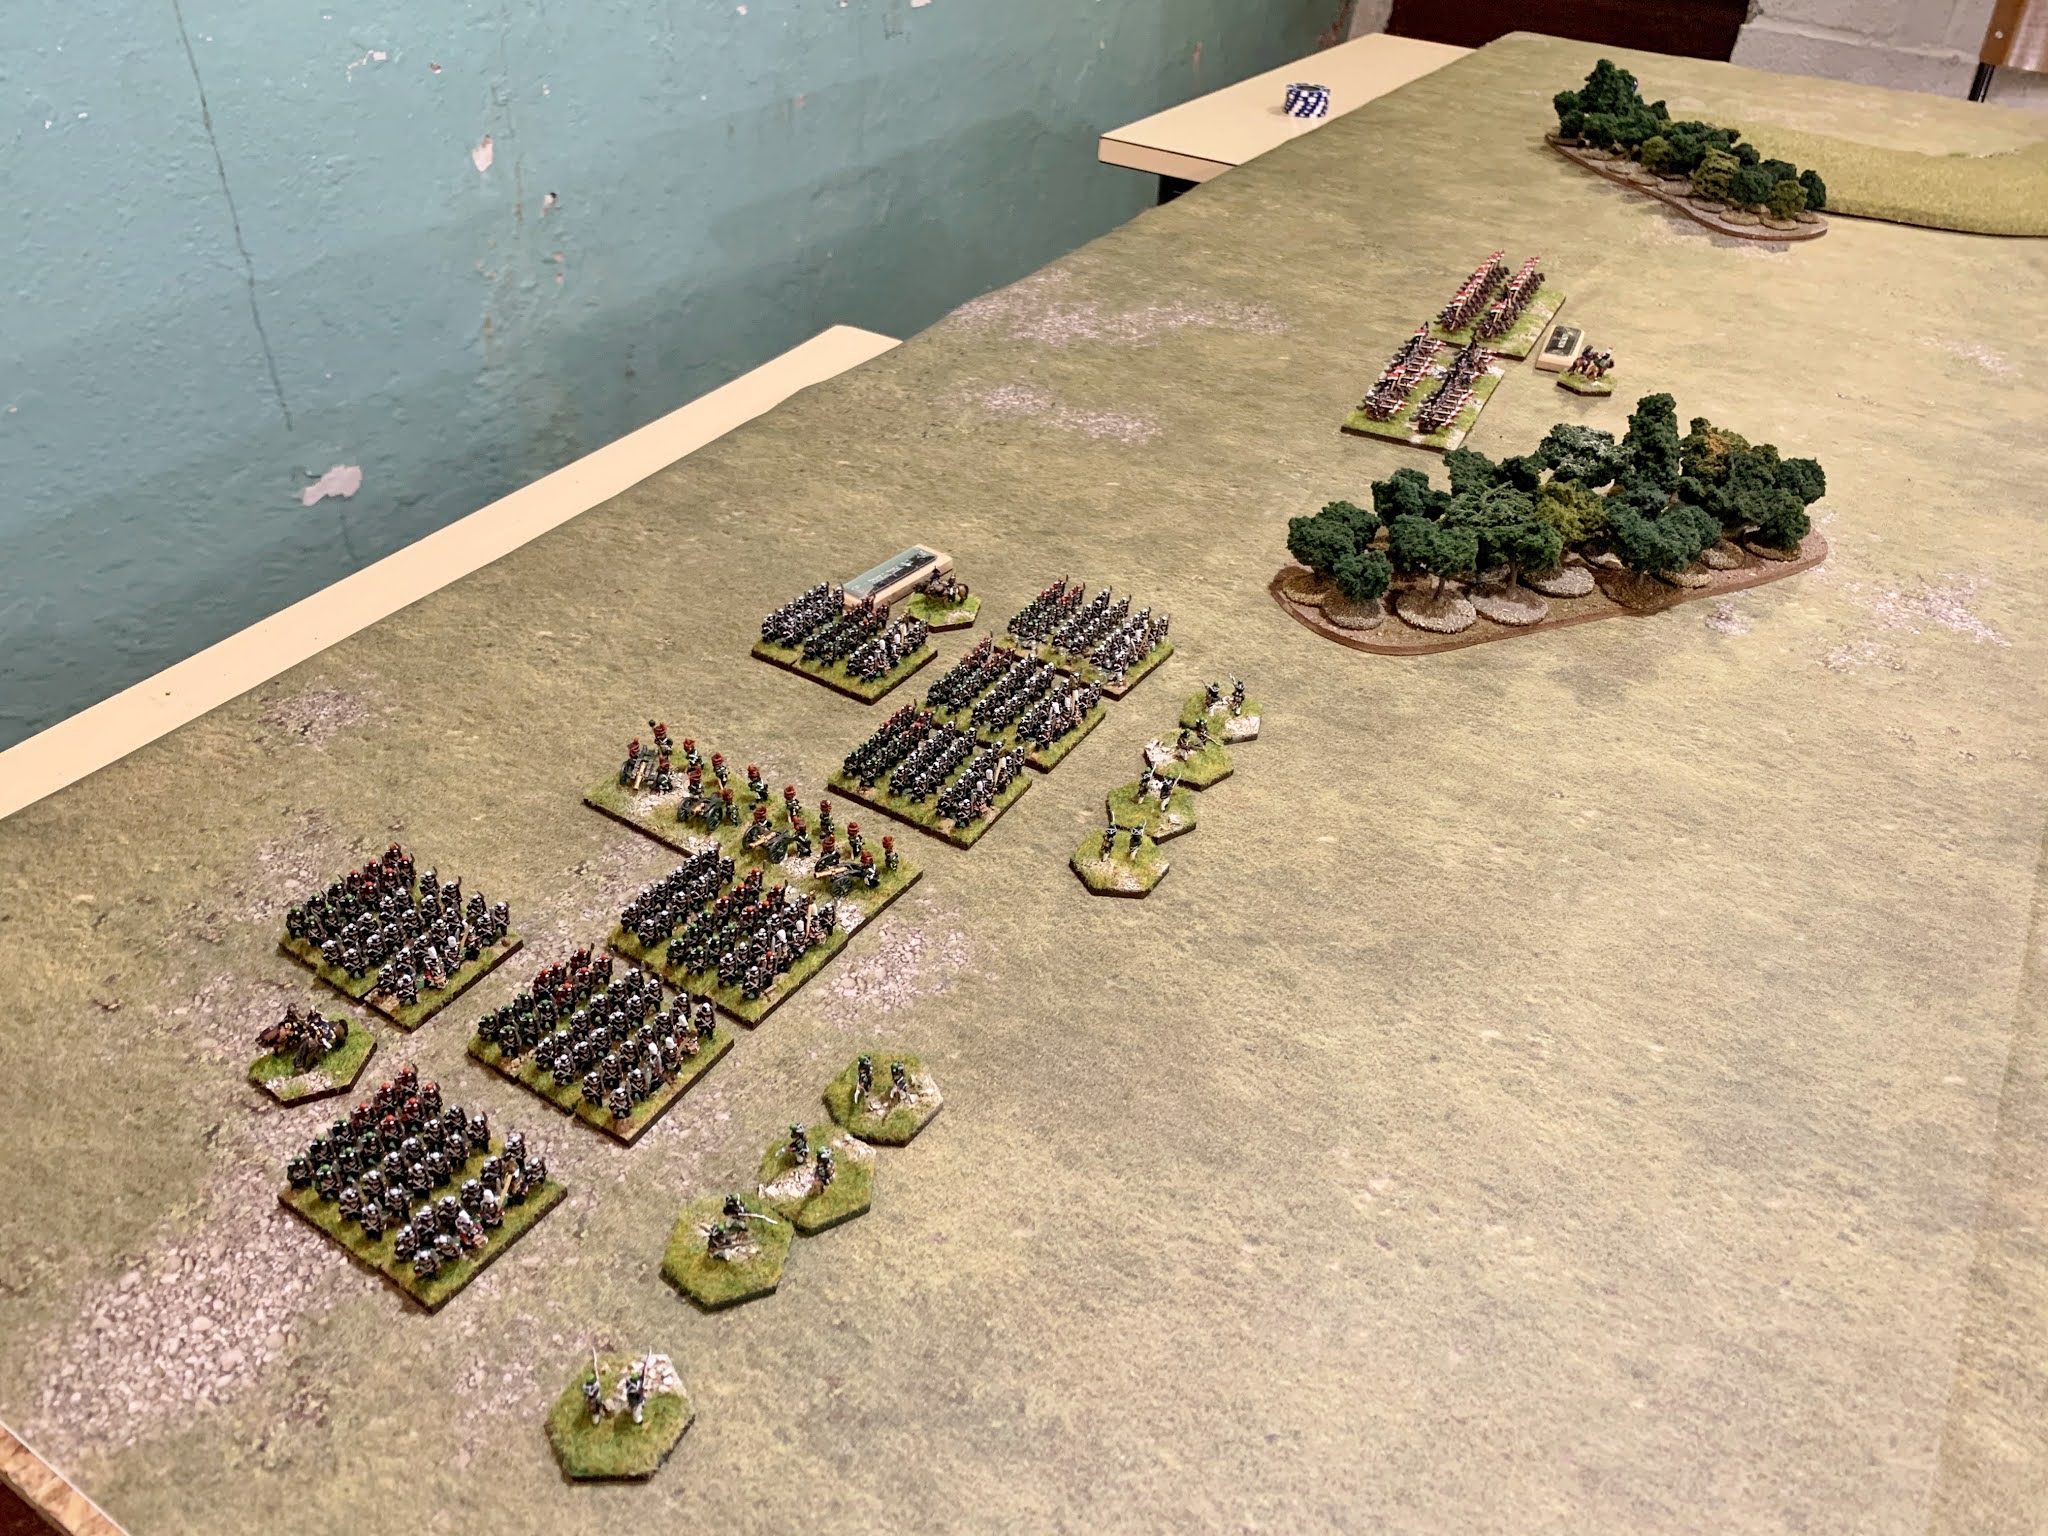
A short while later the infantry have crept up whilst the brigade of uhlans approaches Austrian light horse, hussars in this case. The Austrian Avant Guard has occupied the hill near the large wooded hill. From here the Austrian line stretches up the table as their attacks gain momentum. The French however are mounting an attack to dislodge them. These Polish formations are moving to support this attack & turn the line from the southern flank.    

The Polish foot battery deploys to give supporting fire as the lead brigade approaches the somewhat isolated Austrian Avant Garde holding the extreme southern flank of the Austrian line.  


The threat from the Poles was largely illusory as they arrived quite late in the day and missed much of the fighting. However the sheer threat they posed was very real - especially to Tony! Having eight fresh battalions, artillery and 2 regiments of vodka fueled lancers arrive on one's flank must concentrate the mind despite a loosening of the bowel... This threat should not be dismissed in the psychology of wargaming!

Action in the south (or inaction?)

This part of the action centres on the Austrian Avant Garde's task of holding the southern end of the main battle line & the forces assigned to link them with the Austrian centre, namely a brigade of "newly painted" Austrian dragoons - what could possibly go wrong? 

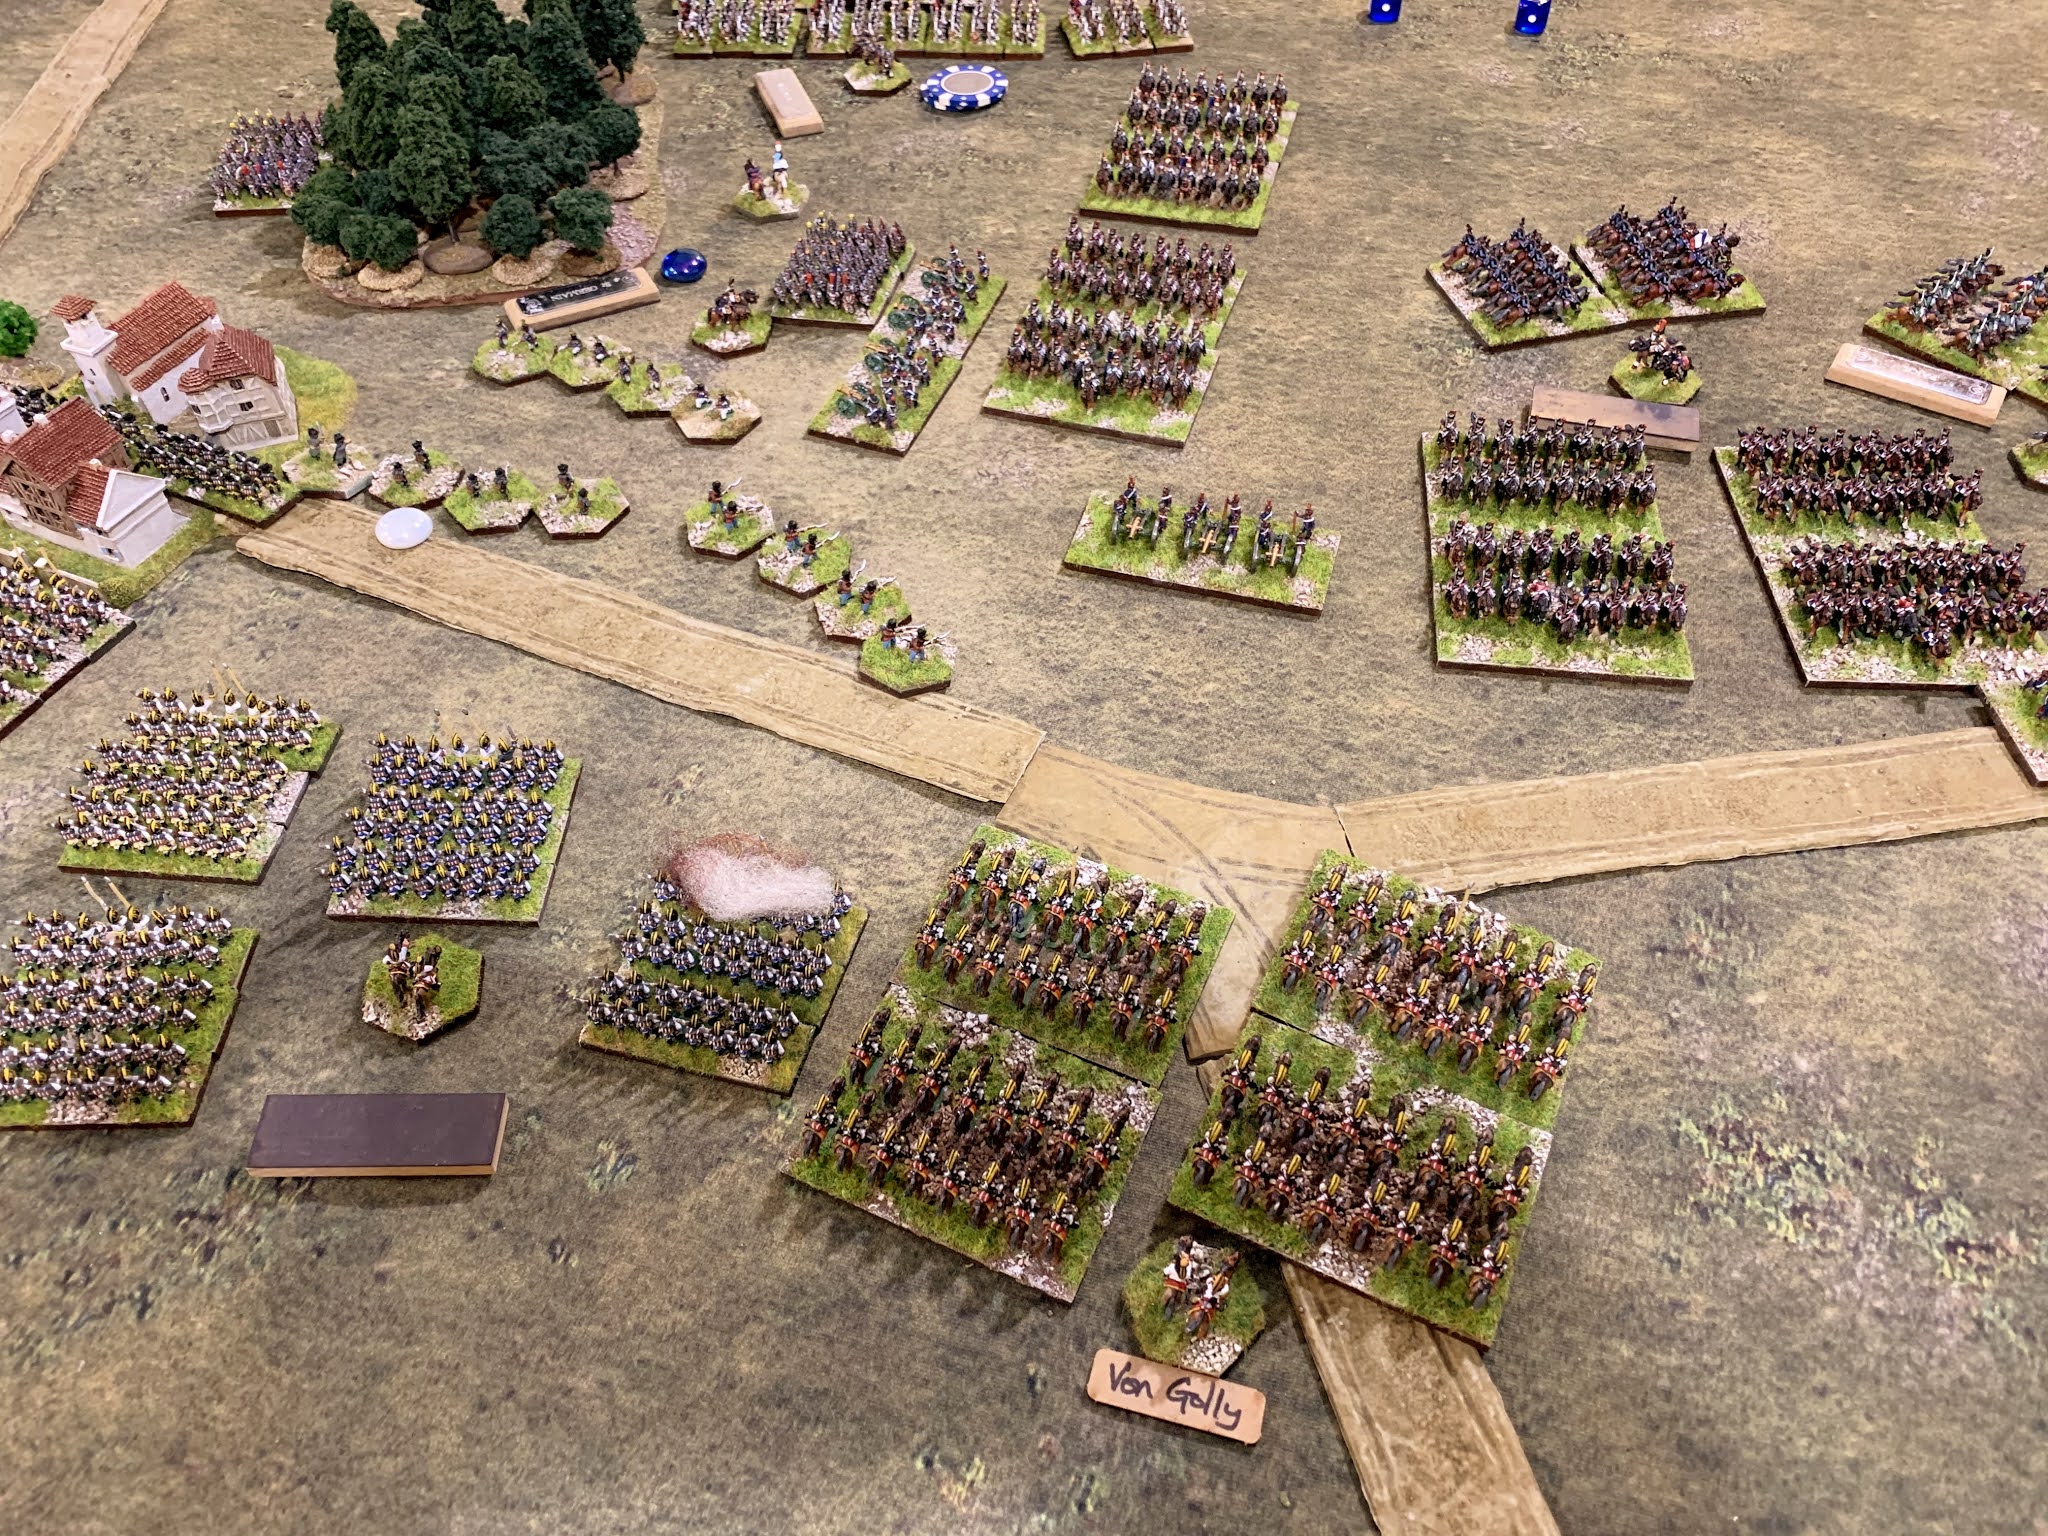
Austrian Avant Garde occupy the hill top as ordered while 3 regiments of supporting Dragoons hold the position linking the southern flank to the centre. The dragoons are soon faltering & Austrian line can be seen fleeing their own failed assault - centre right!

As Austrian C-in-C I ordered the Avant Garde to seize the hill top complete with a small farm complex. This was to be held against all comers. With a large wood behind it & good fields of fire I thought this might work. Any attacks French mounted would be pulled away from the main Austrian battle line as it assaulted the contested line of villages. The Avant Garde is a useful mixed force of Grenz, Jaeger, hussars & supporting battery plus clouds of skirmishers. Their speed got them into position quickly.    

Things did not go entirely to plan... Aggressive French moves by Rich (no surprise there) caused a muddle of squares and confused hussars all who seemed to mill about BUT kept holding the position. The Poles were approaching with artillery taking pot shots from the rear & uhlans threatening to run into the attached hussars who were already facing French dragoons with attached horse artillery. 


The Austrian dragoons, 3 x 30 of the buggers, fulfilled the usual "newly painted toys" routine admirably by repeatedly being repulsed by French Dragoons ultimately losing the encounter to their opposite numbers. The brigade faltered with mounting loses from sustained melee & horse artillery fire.  

The actions on the southern Austrian flank did not go exactly according the plan... BUT they occupied a larger French force long enough to prevent them influencing the main Austrian assault. This I regard as a small success. I needed one by the end...

Austrian attacks on the centre left

The Austrian coup de main was of course straight down the centre to assault the line of villages initially occupied by Ney's sleeping corps. This assault was split between two commanders, Tony & I. The southern sector was under Tony's command - the northern centre under mine. Here the vast majority of Austrian infantry were deployed with attached brigade artillery & further 12lb batteries plus the Grenadiers from the army reserve in two further brigades.  

Both Tony & I deployed our forces roughly two brigades deep across the line as shown in the aerial shot above. We have sought to create a "second line" for some time now however this boon does not come without some difficulties...   

The same position a little later but from behind the French lines. 

Chris tots up casualties caused on Tony's Austrians. Top left are the Poles.

Trusting Tony notes down casualties... He has drunk all the reinforcements - Cheers chum (hic)!   

The Wurtemberg brigade moves up for the French to stiffen the line. Beautifully hand painted flags by Tony who also painted these fellas. We have another brigade of these on the way creating a division.   

Here four Austrian brigades assault the French held line of villages, farms & hamlets.

Success! Austrian skirmishers occupy a village as the hefty line battalions force a French retreat.
Bottom right, Grenadiers released from reserve double pace to exploit the breakthrough. Sadly this success was short lived as the lead attacking brigade soon faltered. Sad face.   

Vicious firefights & hand to hand fighting erupt along the line in this sector. 

The tight nature of the fighting got tighter as French light cavalry try to intercept Austrian foot in support of the Swiss brigade - both were repulsed.

Top left - a French brigade counter attacks in an attempt to draw off the Austrian assault. 

Austrian attacks on the centre right

Line versus column? I don't fancy the odds for the French here though.

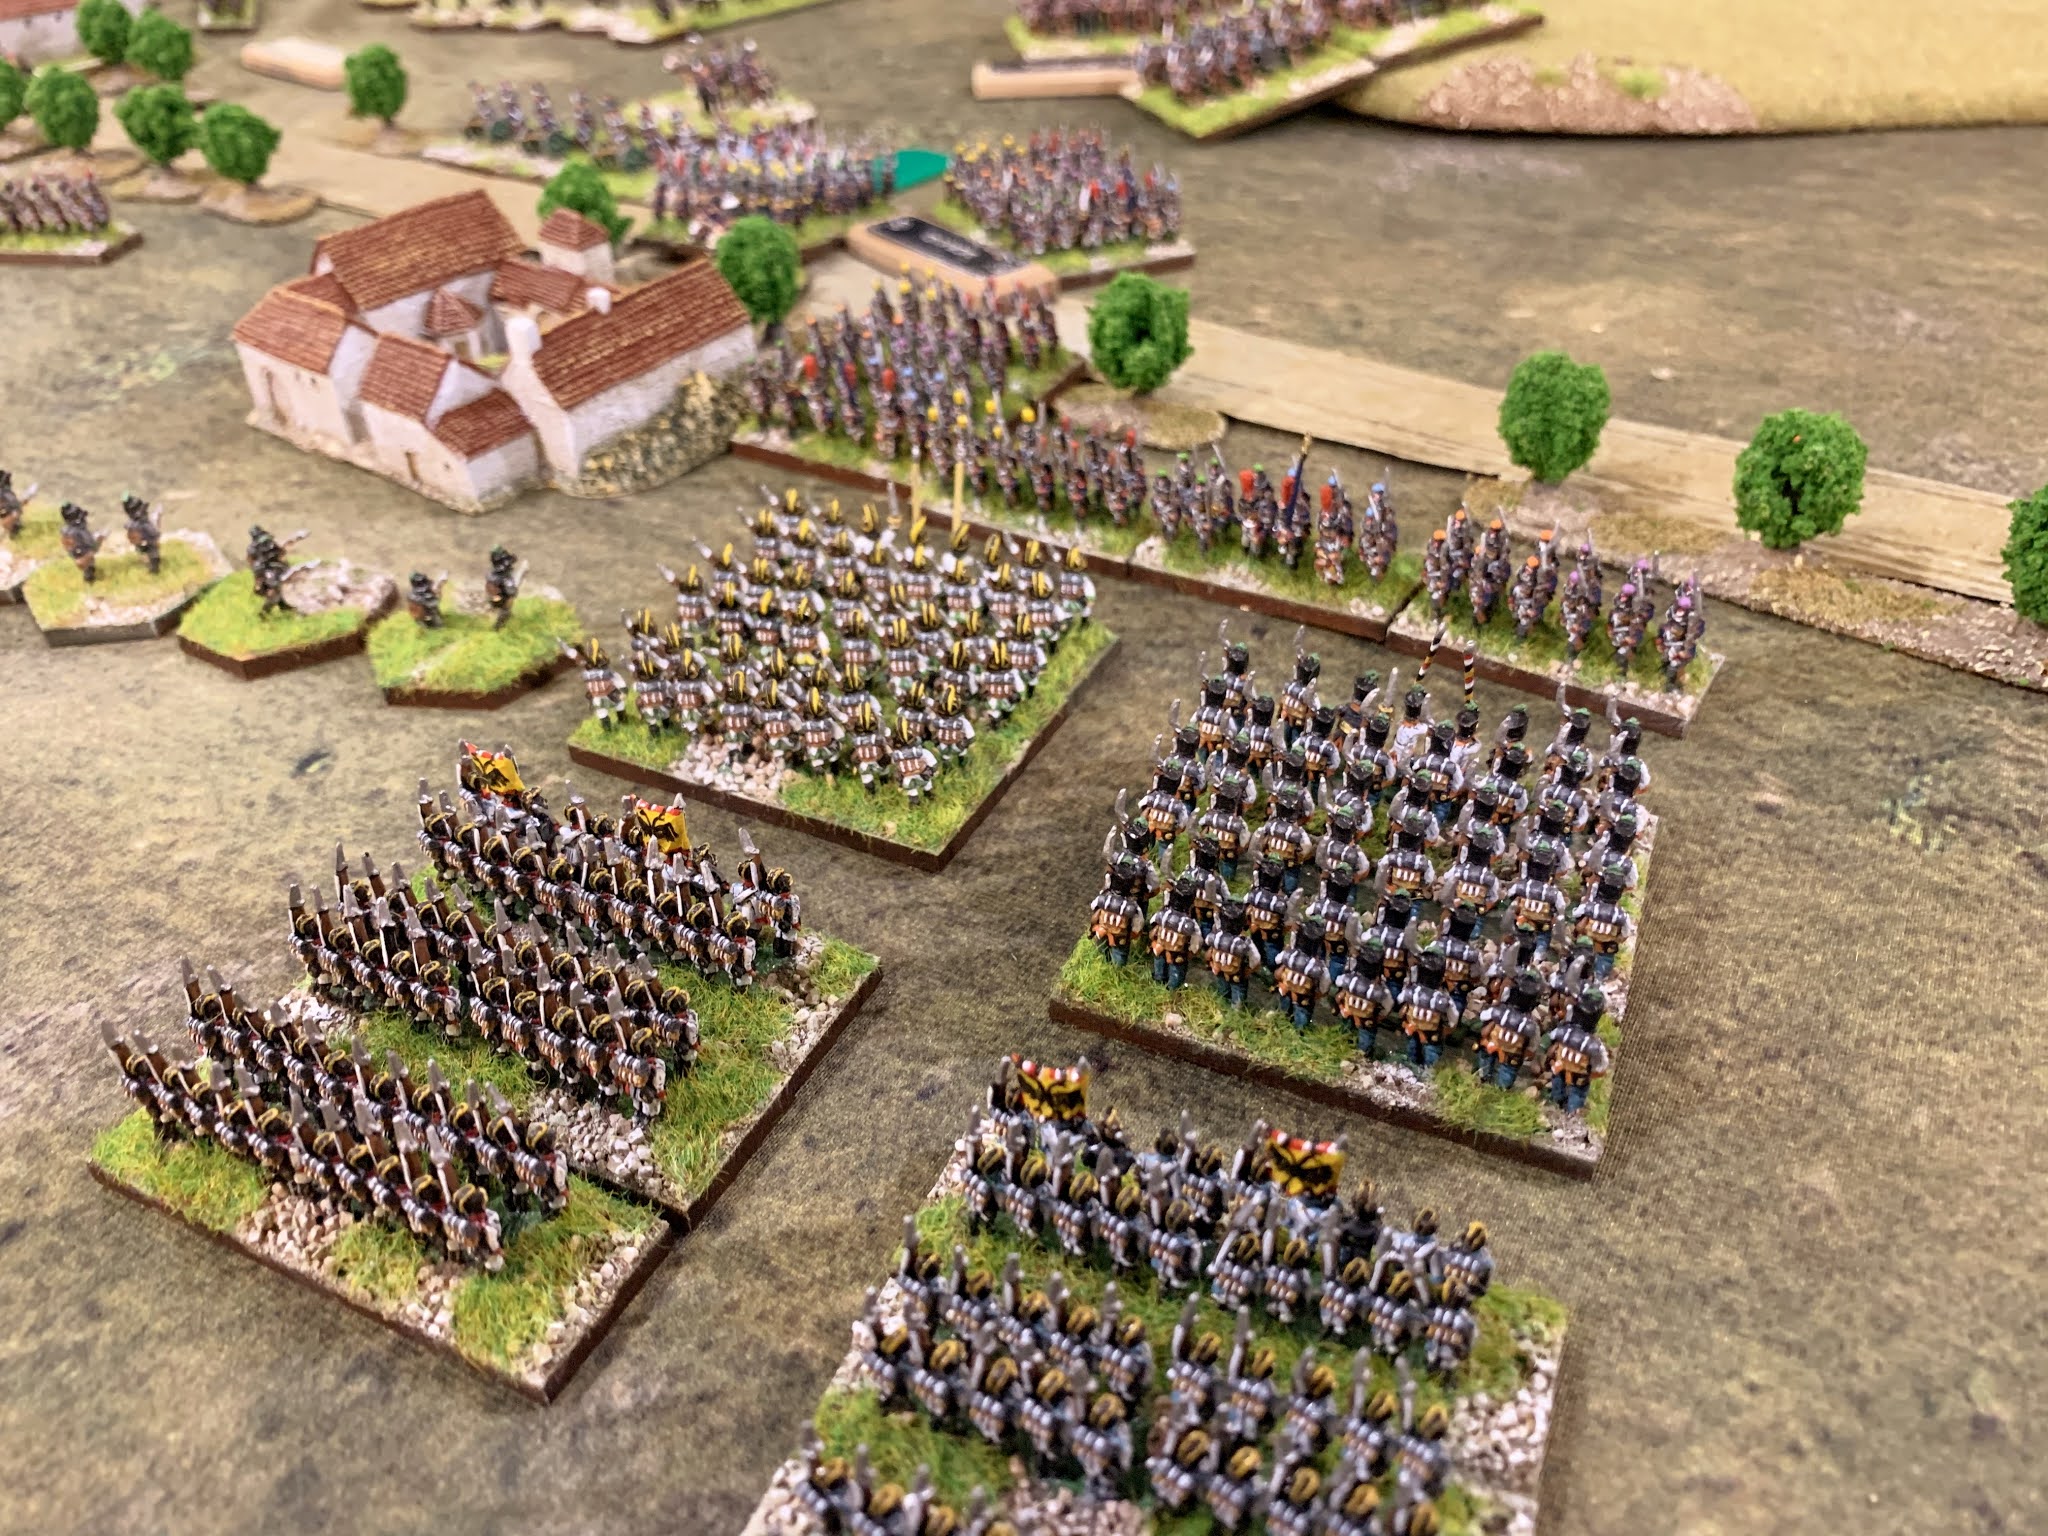
Austrian infantry brigade patiently waiting in the second line. Their battery has deployed lending fire support to the lead brigade.

Light cavalry from Ney's Corps have redeployed to face Austrian counterparts. This confrontation was to escalate out of all proportion...  

Two Austrian brigades assault a lone French brigade in the contest over this village. Skirmishers pop away at each other.

The French garrison lose their collective nerve & leg it! Their brother are left somewhat precariously facing a massed Austrian brigade in attack columns!  

Cavalry action north of the centre right

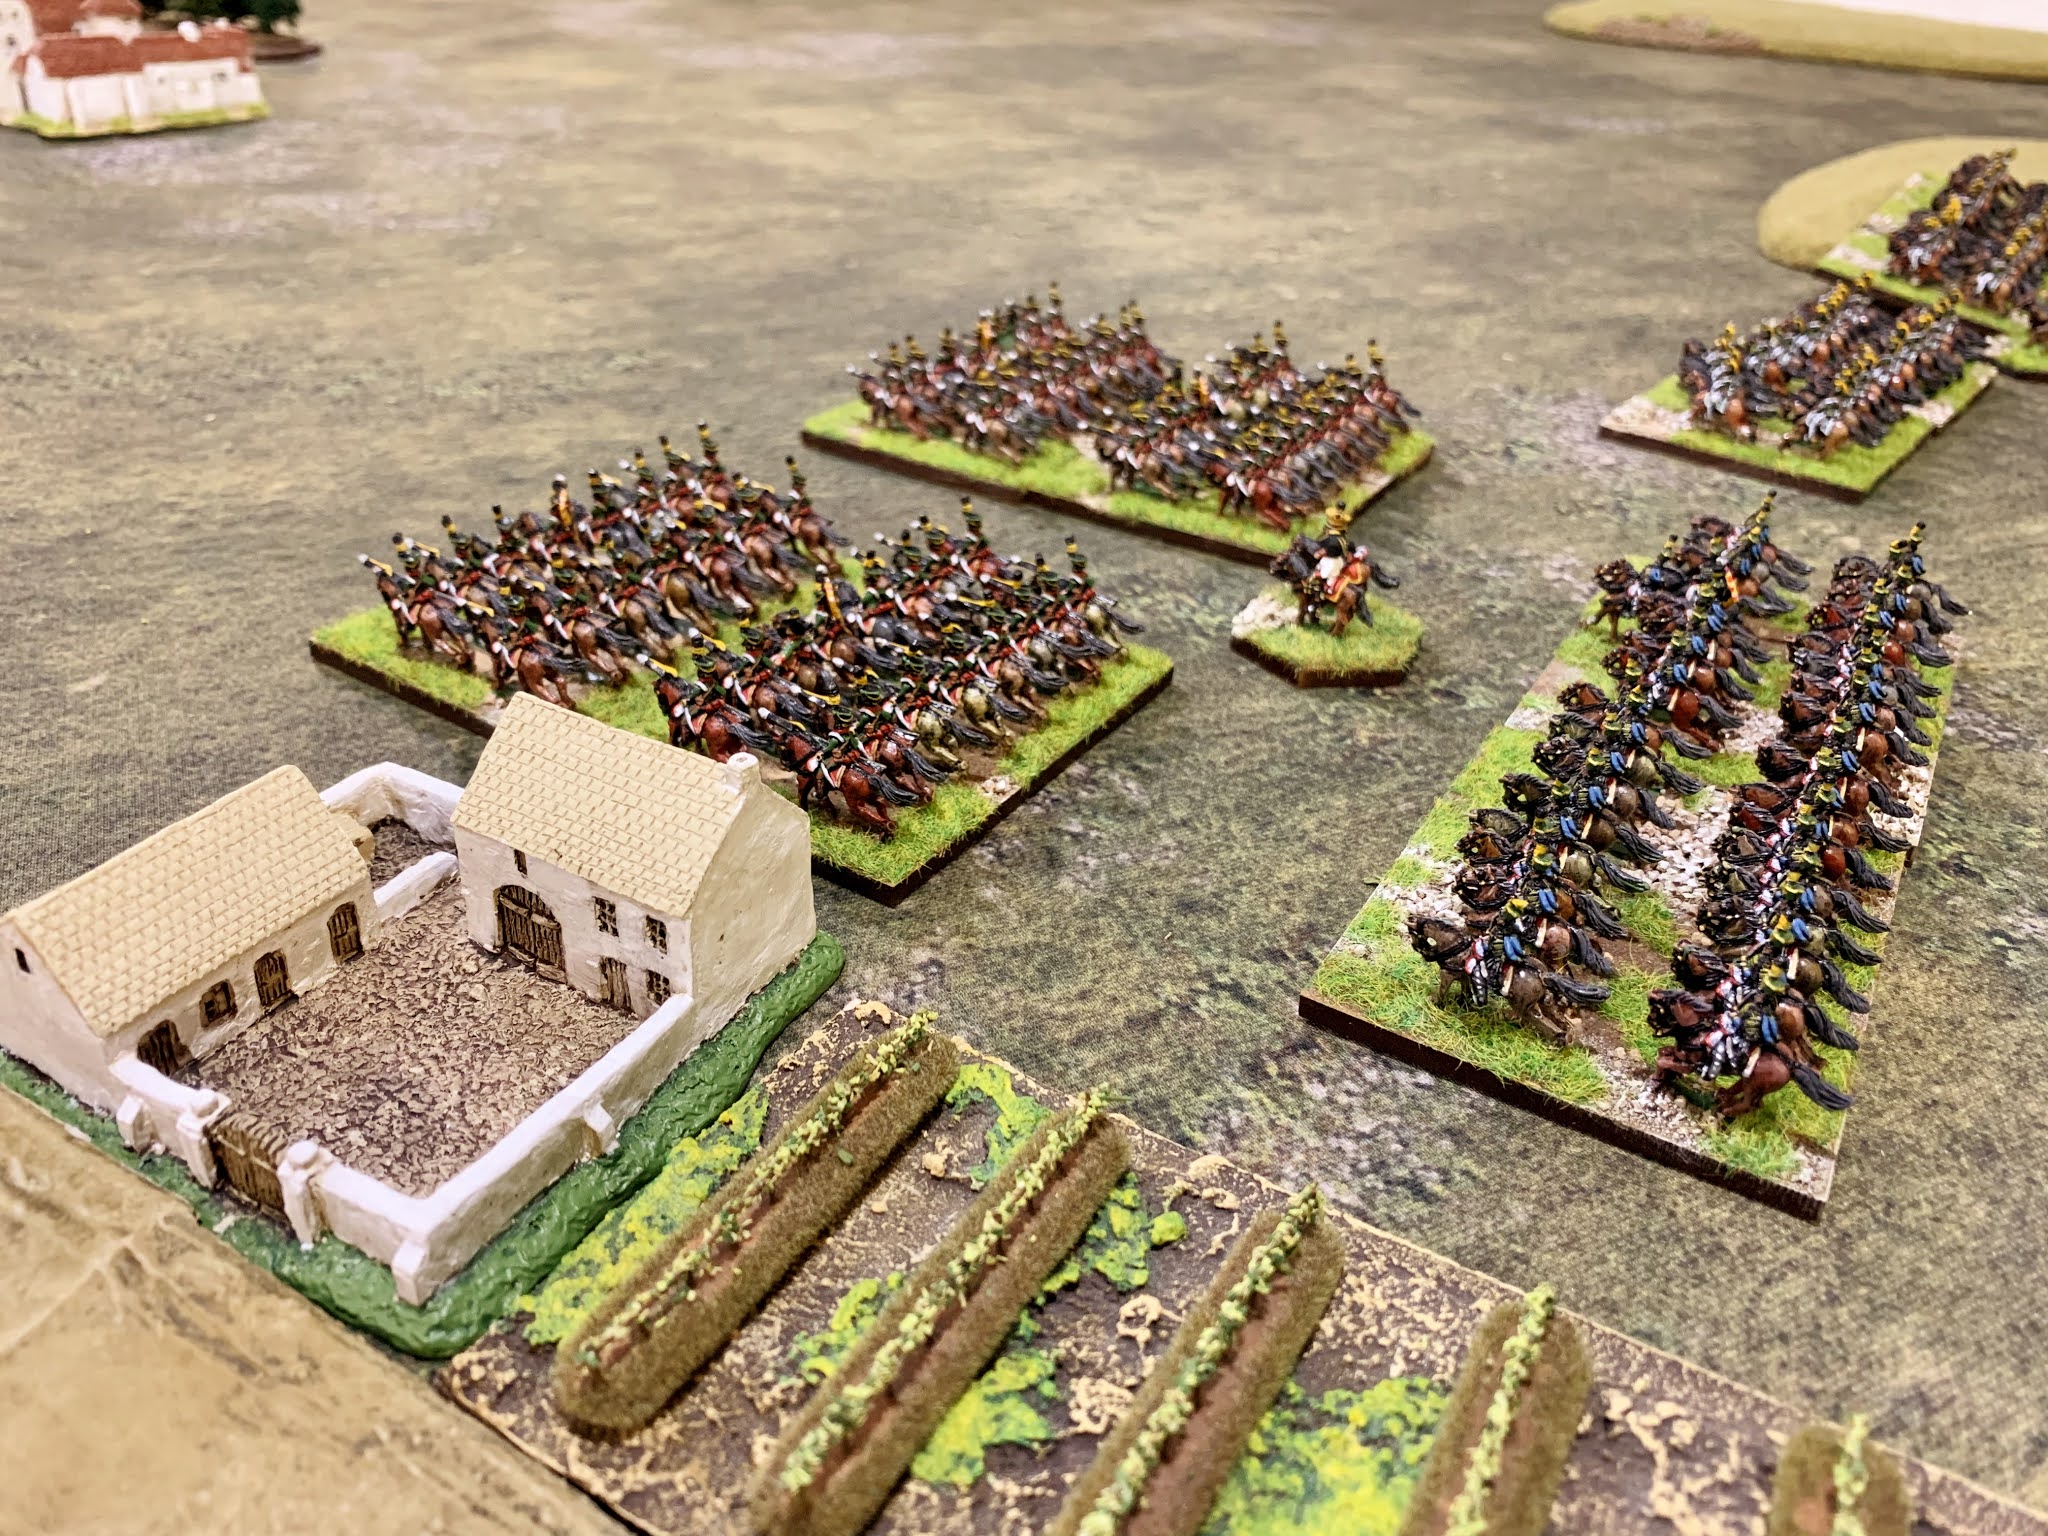
Three large regiments of Austrian cavalry, two of uhlans up front, one of hussars in support. The French boast a mix of hussars & chasseurs a cheval. My money is on the Austrians here.  

This confrontation between French & Austrian light cavalry brigades took a while to kick off. In many respects there was never any need for it to happen at all. The main battle was elsewhere but in theory the victor could swing around to interdict the infantry in the centre.       

Moving up behind the French lights was a full division of French Cuirassiers in two brigades each with a horse battery. Hammer v. Nut? 

The initial melees were about honours even with each side withdrawing, regrouping & charging again with a few less sabres as saddles emptied. 

Redrawing the lines & going in again.

Somehow the French triumphed forcing the Austrians into retreat & faltering the brigade. 

Never fear I had brought up my own heavies from reserve - five regiments of Kuirass!
No horse artillery though... which might just swing the balance against them.

As the light cavalry buzzed off the heavies eyed each other up. French supporting horse batteries opened fire & predictably felled too many brave Austrians for comfort. In addition the French Imperial Guard reserve cavalry was moving up support to seal my fate. By the time it time to fight what was now horribly one sided (against me) the battle was over.    

Austrian cavalry faff about in the north!

The action in the north was a side show and that's how I kept it. The Westphalian Division of three brigades (two foot, one mounted plus artillery) was kept busy marching around between prolonged rests for most of the battle. My brigade comprised four regiments of chevau legere - their task was to make a nuisance of themselves enough to keep the Westpahians too occupied to support the centre. Seeing off the Westphalian light horse they harassed the infantry long enough to ensure they never actually arrived in the main theatre of operations.        

With the Westphalian light horse driven off my chevau legere are free to harass the slow moving infantry. Note; top left - French reserve heavy cavalry division arriving from deep reserve.   

Same position different angle.

The fighting in the centre "see sawed" back & forth as both sides vied to gain the upper hand. as one reads in the history books many villages changed hands variously throughout the battle. This happy game continued for a few hours until it was spoilt by the arrival of the Old Guard infantry who marched five battalions rudely through the centre to evict the Austrians & deter further transgression. Old Guard foot artillery deployed two 12lb batteries on the heights & the Old Guard Cavalry & Guard horse guns threatened from behind the French heavy cavalry reserve.

The Austrians had no realistic counter for this. Many brigades were bled dry & the tide had turned against us. Calling off the attack I effectively conceded before the French heavies & Guard cavalry could interfere & prevent an orderly retreat by slaughtering us in the open!

Conclusions     

The most important criteria was fulfilled - namely the four Marauders had another hectic & tensely enjoyable wargame - Bravo & Hurrah!   

The scenario design mechanic reflecting Ney's command worked a treat. The usual GdA command & control rules kicked in later & really showed the superior French system at work especially once Napoleon rocked up! The Austrians had every chance here but we blew it!

One thing I would change is the terrain layout. With all the table top space available to us I made the flanks too wide at each end & the centre too cramped. One foot at each extremity of the centre would have meant less crowding in the mid board. Also the flank marchers, namely the Poles & Westphalians, would have a greater chance of involvement but no certainty of that. That's a lesson for next time.

From a generalship point of view I have to learn how to insert a supporting brigade into the line when the lead brigade is spent. This is no mean feat on the table top when the enemy are staring down a gun barrel at you! Practice makes perfect I hope.

There we have it - an emphatic French win over the Austrians. Well played Chris & Rich, commiserations to Tony & I; there's no prize for second best in War.

We'll be back...  

I hope you enjoyed this one & find some time to comment. Best wishes, stay safe out there,

Jeremy          


Monday, 7 September 2020

The Battle of Flutzen 1809

Now that we are pretty much free to play again at Marauder HQ it's time to play a big game & write a batrep for you. We are now in possession of the latest batch of newly painted figures which once based will feature in the Cloppenhammer game we messed about with during lock-down.

Positions at the Battle of Flutzen - End of turn 1.

This is as usual a fictitious battle but one inspired by one of my favourites to re fight; no prizes for guessing which one. Marshall Ney has camped his Corps consisting of five infantry brigades & attached light cavalry brigade amongst five farms & villages for the night. Without deploying scouts & picquets they are all asleep & blissfully unaware that Archduke Charles is descending on them. The remainder of the army is a few hours march away & Napoleon with the Guard is further away still! 

The scenario

Ney's starts the day in camp having breakfast - le petit dejeuner. Each brigade is based around a farm or village with the cavalry on high ground to the rear. All other French divisions are off table to arrive later. One may arrive on the southern flank table edge the rest along the western table edge. The reserve heavy cavalry cannot flank march and the Guard with the Emperor must arrive last along the main road traversing the battlefield  The Austrians are deployed to attack, their reserves and one brigade are trailing. 

Note that we have begun to deploy by & think of the army in Divisions. Naturally these are made up of Brigades but it adds a level of structure & some deployment limitations and adds further flavour. Once deployed the brigades act as usual within the rules as there is no Divisional level commend in GdA. As the collection matures & grows we can think about Corps levels too. In this game for instance Ney's Corps is depicted comprising two Divisions, one of two infantry brigades, one of three infantry brigades, a light cavalry brigades & divisional artillery which is attached to one infantry brigade, in all 20 battalions, three light cavalry regiments & associated batteries - quite enough to occupy one player for a while at least!   

Marshall Ney directing artillery fire. He is the Corps commander & C-in-C until Napoleon arrives with the Old Guard - everyone loves a visit from Head Office.
     
To replicate the surprise & confusion amongst the French they suffer penalties to ADC tasking in the first three turns. ADC are only activated on a d6 roll of 6 in turn 1, 5+ in turn 2, 4+ in turn three and then the usual 3+ from turn four. This means most brigades will be hesitant in the early turns although if activated once they are then available on the usual roll of 3+ in future turns. This fits in nicely with Command & Control rules in General d'Armee - our favoured big battle rule set.   

Dispositions of the French & Austrian armies at Flutzen    

The far northern flank, here two brigades of Austrian light cavalry mass ready to move. 

Moving south we see the first two infantry brigades setting off towards their target village. The guns are limbered up, on that note we have now finally got the limber teams back ready for basing before our next game. 

Here we see the French around the village pictured above. They managed to wake up on turn two, begin to sort out some defense & deploy their battery.

Moving south from the position above here we see another French brigade, these fellas took longer to wake up so are still hesitant. The tree lined road pleases me greatly :)

Another French held village - this one looks a bit wonky as it sits on the join between two boards beneath the mat, the floor isn't even, just one of those things!    

More Austrians moving up in the centre.

Panning out from the above shot showing the target village opposite.

The target of the Austrian attack shown above. This French brigade is fairly spread out with it's battery on the road. The hamlet behind has another brigade encamped about it.  

The southern front. Here we see three Austrian brigades. From left to right they are; The Avant Garde moving up onto the hill with their hussars, Grenz & Jaeger follow up. In the centre are the dragoons, three regiments in line one behind the other. On the right is an infantry brigade with guns limbered.    

Looking north from the southern flank of the Austrian Avant Garde along the whole front as the advance gets underway. This is all looking rather splendid!

The first French reinforcements arrive & the battle opens  

On the Northern French flank the first fresh forces arrive to rescue Ney. This is the Westphalian Division consisting of two infantry brigades; each of four battalions, one has a foot battery attached. There is also a Divisional light cavalry brigade of two regiments.     

"Marching to the sound of the guns."
Further trailing forces for the French. This looks like the Old Guard, heavy cavalry reserve and the Polish division. There are a few more on the other French back board. 

A close in shot of Austrian light cavalry in the north. These are three large regiments, two of uhlans up front with hussars to the rear. The farm in the foreground was my first test piece for the 10mm project, the roofs need painting terracotta, the edges sandy and flocked. The adjoining vineyards are pretty!  

Bergman's German line & LDW advance behind skirmish screen. Two things need doing here; firstly flags; Secondly new Brigadier name plates. Rich has sourced a producer, an order will be placed once Chris submits a suitable list of historical names. Get on it mate ;)  

Cute village from Total Battle Miniatures 6mm aptly named "Big Battalion" range.
I painted these & have a few larger villages & more farms to finish, hopefully this month. 

French foot battery from Magister Militum painted by Barry's boys who did almost this entire collection - Hi guys! 

Another master piece from Total Battle. 

French dragoon brigade arrives with a horse battery. These are in the south facing off against the Austrian Avant Garde & supporting Austrian dragoons.  

Looking due north from the southern table edge. The Poles are due to arrive here at some point.
The newly arrived French dragoons are in the left foreground. This shot also shows the space available to us now - of course there are plenty for toys still to deploy. 

Tony plays a forward order on this brigade - he is determined for this one work!

Close in shot of the French defending this village.

The two southern most of Ney's brigades set up a strong defensive position before the
"White Storm" breaks against them.

Tony's "White Storm" crashing into Ney's southern most positions.
This is a brilliant shot across Tony's attack in this sector - great to see a second line - something we have been striving for since we started the 10mm project.

French infantry columns line abreast ready for the Austrians as Jaegers snipe at them.

The Avant Garde drive off the sheep to occupy the high ground in the south.
(Sheep now top right - they may counter attack)

Austrian dragoons deploy for battle...

French dragoons also deploy for battle near the heights in the south.

Another divsion arrives to rescue Ney. This comprises Swiss & Wurtemberg infantry brigades plus a divisional light cavalry brigade. The Wurtemburgers boast a foot battery, note limber. 

Ney moves up battalions from his rearmost position to prop up the front line.
Nice depth in this shot. 

Voltigeurs engage with Jaeger & Grenz before the close order formations close.   

Ney's light cavalry brigade moves laterally across his rear to prop up/support the northernmost position. Two regiments of hussars one of chasseurs a cheval - pokey.   

Action in the North. Westphalian light cavalry come off worst in initial melees with Austrian Chevau Legere who outnumber them 2-1. This will be an interesting contest; can the Westphalians force a passage to the south influencing the main event in the centre OR will the Austrian lights deny the French some valuable respite. Let's keep an eye on this...       


Austrian light cavalry sit awaiting the order to advance.

The first trailing Austrian forces arrive. An infantry brigade & a brigade of Grenadiers from the army reserve (top right).  

Hungarian infantry & LDW move up to support the front line of attack. 

Pressure builds in the centre. The Austrians have deployed a divisional 12lb foot battery as two others move up limbered. Skirmishers trade shots as the lines close - it's all kicking off!

Someone loses fire discipline at the critical moment. Typically one of my regiments.

Another brigade approaches the target village shown above.
Foot battery deployed to soften up the Frenchies.


That's your lot... 

We managed 8 turns which is a good start. There is real peril for the French centre but with help on the way there is hope. The Austrians look strong but must race against time as they must defeat Ney before The Old Guard arrive to possibly swing the balance - it's what they do! Moving swiftly isn't what the Austrians do, especially under my command!

We play again tomorrow night so I'll try to post Part 2 promptly. The house rules used for the initial scenario moves seem to have delivered a challenge for both sides which is pleasing. Suffice to say, we have a lot of fighting ahead of us & a lot of formations still to commit - it's going to get very bloody as the street fighting starts to bleed both sides.

Best wishes,

Jeremy