The French response to the Austrian surprise attack at dawn is now taking shape. Elements of supporting Divisions are arriving along with the Old Guard & Napoleon. Will this be enough to stem the "white tide" & turn it back.
Please refer to Part 1 of this report to refresh your memories on how this game was designed & the early turns. Apologies for the lateness of this final installment.
Polish progress in the deep south
 |
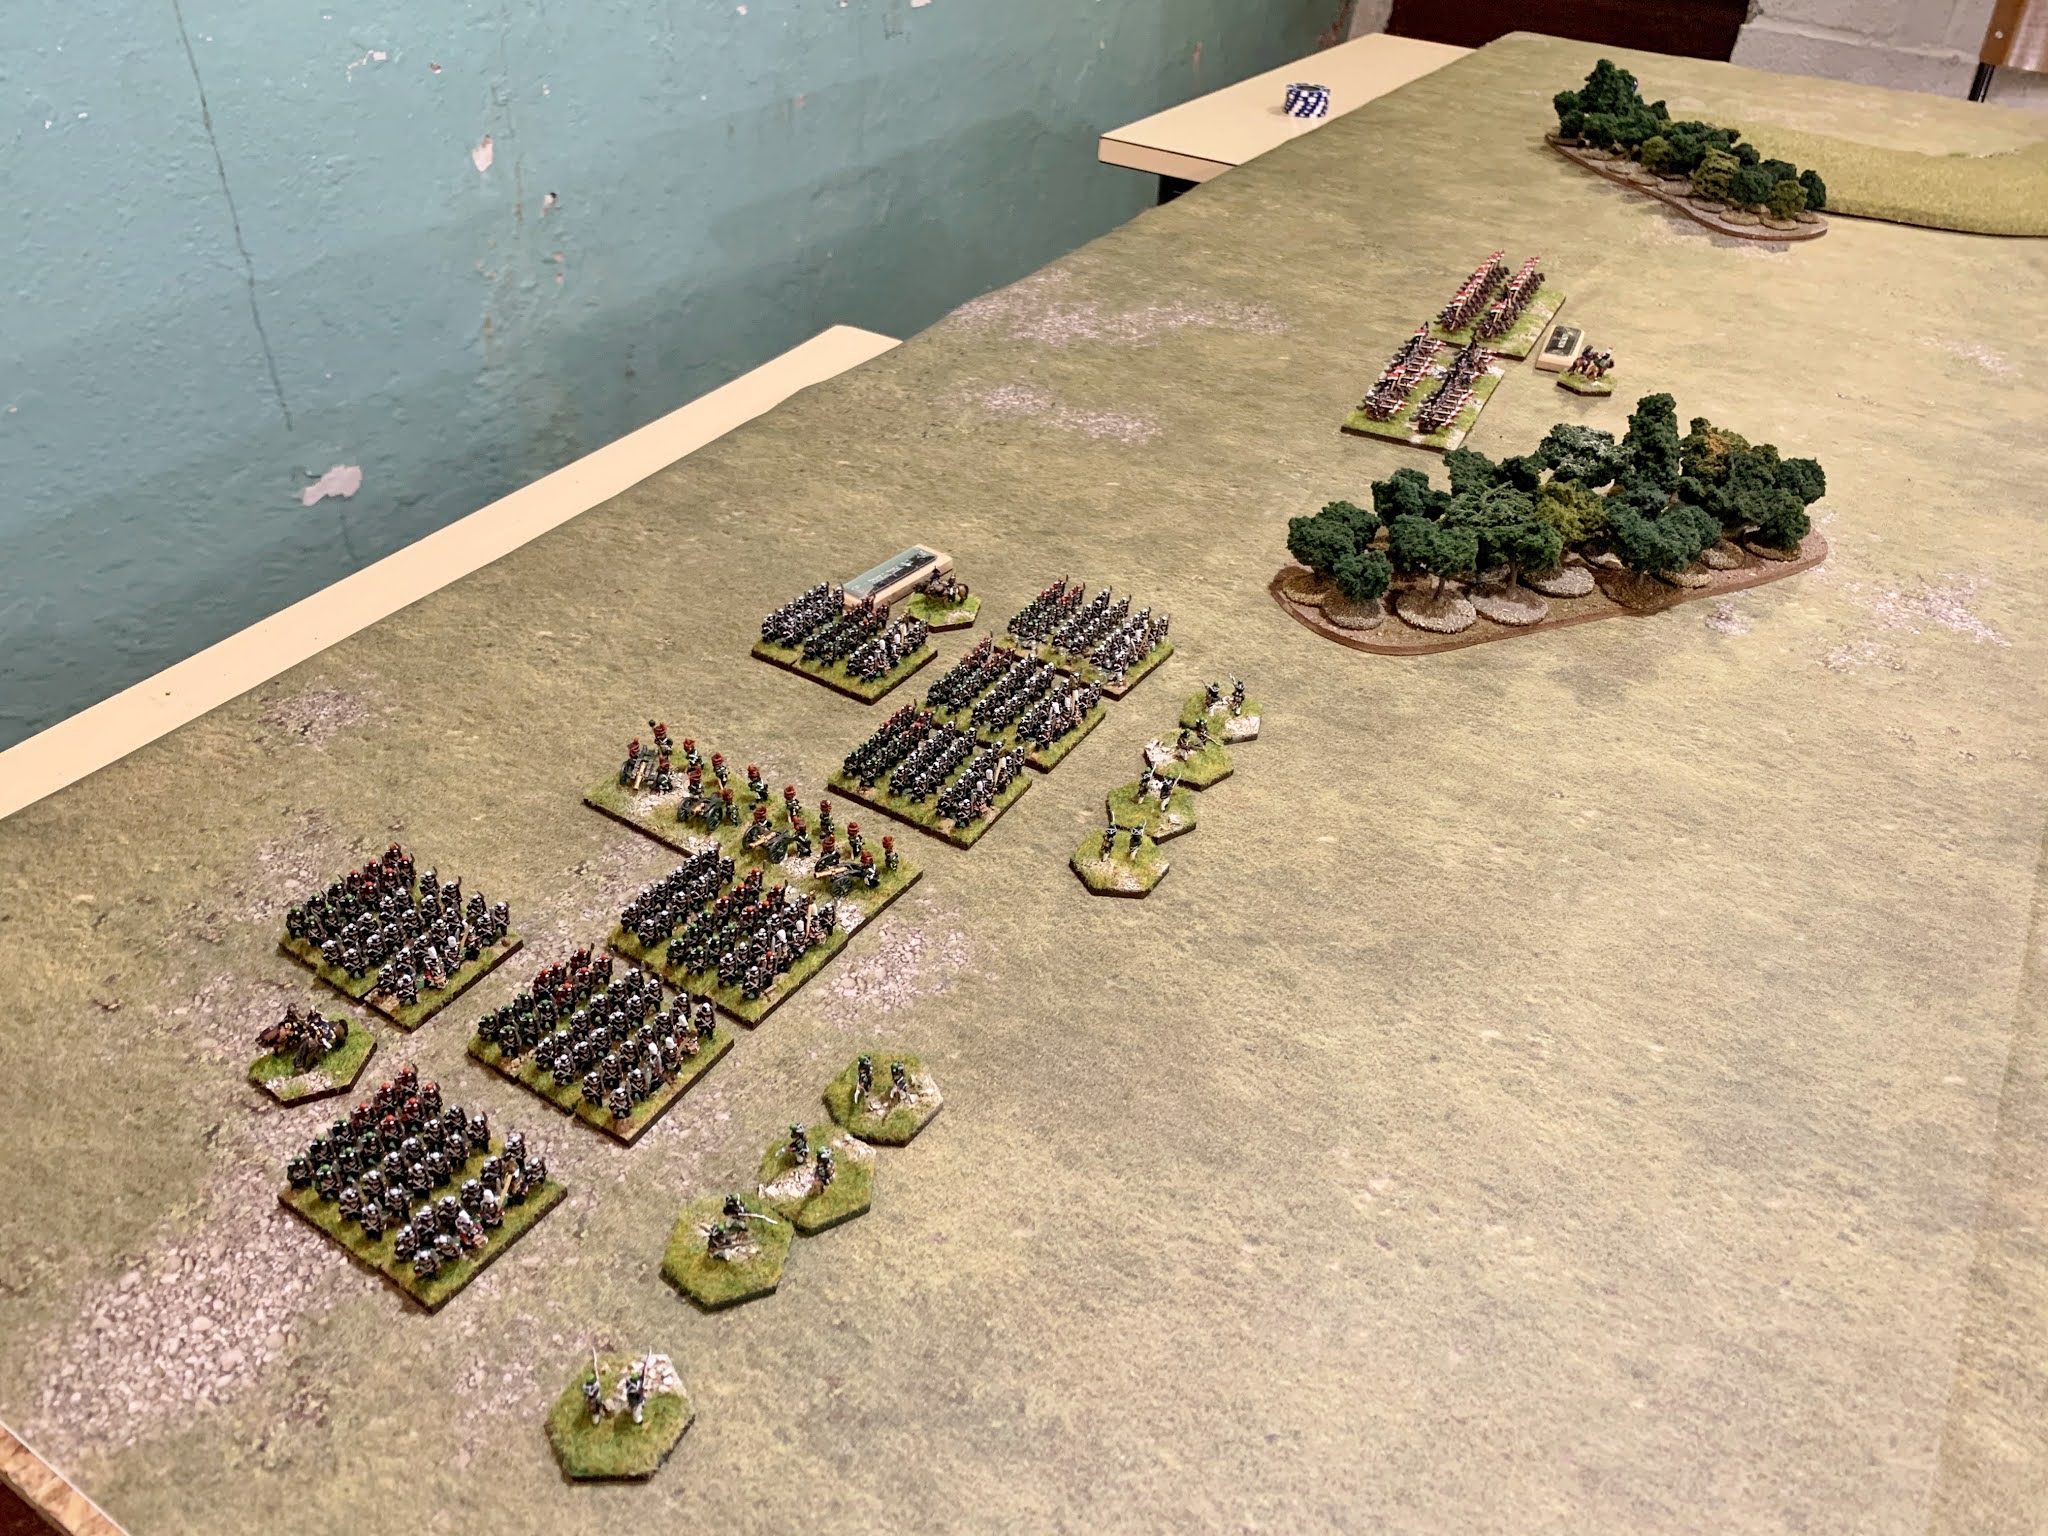
The Polish Division arrives & deploys for action. Here the two Polish infantry brigades march to the sound of the guns. The attached light cavalry brigade of two Polish uhlan regiments deploy between the woods.
|
 |
| A short while later the infantry have crept up whilst the brigade of uhlans approaches Austrian light horse, hussars in this case. The Austrian Avant Guard has occupied the hill near the large wooded hill. From here the Austrian line stretches up the table as their attacks gain momentum. The French however are mounting an attack to dislodge them. These Polish formations are moving to support this attack & turn the line from the southern flank. |
 |
The Polish foot battery deploys to give supporting fire as the lead brigade approaches the somewhat isolated Austrian Avant Garde holding the extreme southern flank of the Austrian line.
|
 |
| The threat from the Poles was largely illusory as they arrived quite late in the day and missed much of the fighting. However the sheer threat they posed was very real - especially to Tony! Having eight fresh battalions, artillery and 2 regiments of vodka fueled lancers arrive on one's flank must concentrate the mind despite a loosening of the bowel... This threat should not be dismissed in the psychology of wargaming! |
Action in the south (or inaction?)
This part of the action centres on the Austrian Avant Garde's task of holding the southern end of the main battle line & the forces assigned to link them with the Austrian centre, namely a brigade of "newly painted" Austrian dragoons - what could possibly go wrong?
 |
| Austrian Avant Garde occupy the hill top as ordered while 3 regiments of supporting Dragoons hold the position linking the southern flank to the centre. The dragoons are soon faltering & Austrian line can be seen fleeing their own failed assault - centre right! |
As Austrian C-in-C I ordered the Avant Garde to seize the hill top complete with a small farm complex. This was to be held against all comers. With a large wood behind it & good fields of fire I thought this might work. Any attacks French mounted would be pulled away from the main Austrian battle line as it assaulted the contested line of villages. The Avant Garde is a useful mixed force of Grenz, Jaeger, hussars & supporting battery plus clouds of skirmishers. Their speed got them into position quickly.
 |
| Things did not go entirely to plan... Aggressive French moves by Rich (no surprise there) caused a muddle of squares and confused hussars all who seemed to mill about BUT kept holding the position. The Poles were approaching with artillery taking pot shots from the rear & uhlans threatening to run into the attached hussars who were already facing French dragoons with attached horse artillery. |
 |
| The Austrian dragoons, 3 x 30 of the buggers, fulfilled the usual "newly painted toys" routine admirably by repeatedly being repulsed by French Dragoons ultimately losing the encounter to their opposite numbers. The brigade faltered with mounting loses from sustained melee & horse artillery fire. |
The actions on the southern Austrian flank did not go exactly according the plan... BUT they occupied a larger French force long enough to prevent them influencing the main Austrian assault. This I regard as a small success. I needed one by the end...
Austrian attacks on the centre left
The Austrian coup de main was of course straight down the centre to assault the line of villages initially occupied by Ney's sleeping corps. This assault was split between two commanders, Tony & I. The southern sector was under Tony's command - the northern centre under mine. Here the vast majority of Austrian infantry were deployed with attached brigade artillery & further 12lb batteries plus the Grenadiers from the army reserve in two further brigades.
 |
| Both Tony & I deployed our forces roughly two brigades deep across the line as shown in the aerial shot above. We have sought to create a "second line" for some time now however this boon does not come without some difficulties... |
 |
| The same position a little later but from behind the French lines. |
 |
| Chris tots up casualties caused on Tony's Austrians. Top left are the Poles. |
 |
| Trusting Tony notes down casualties... He has drunk all the reinforcements - Cheers chum (hic)! |
 |
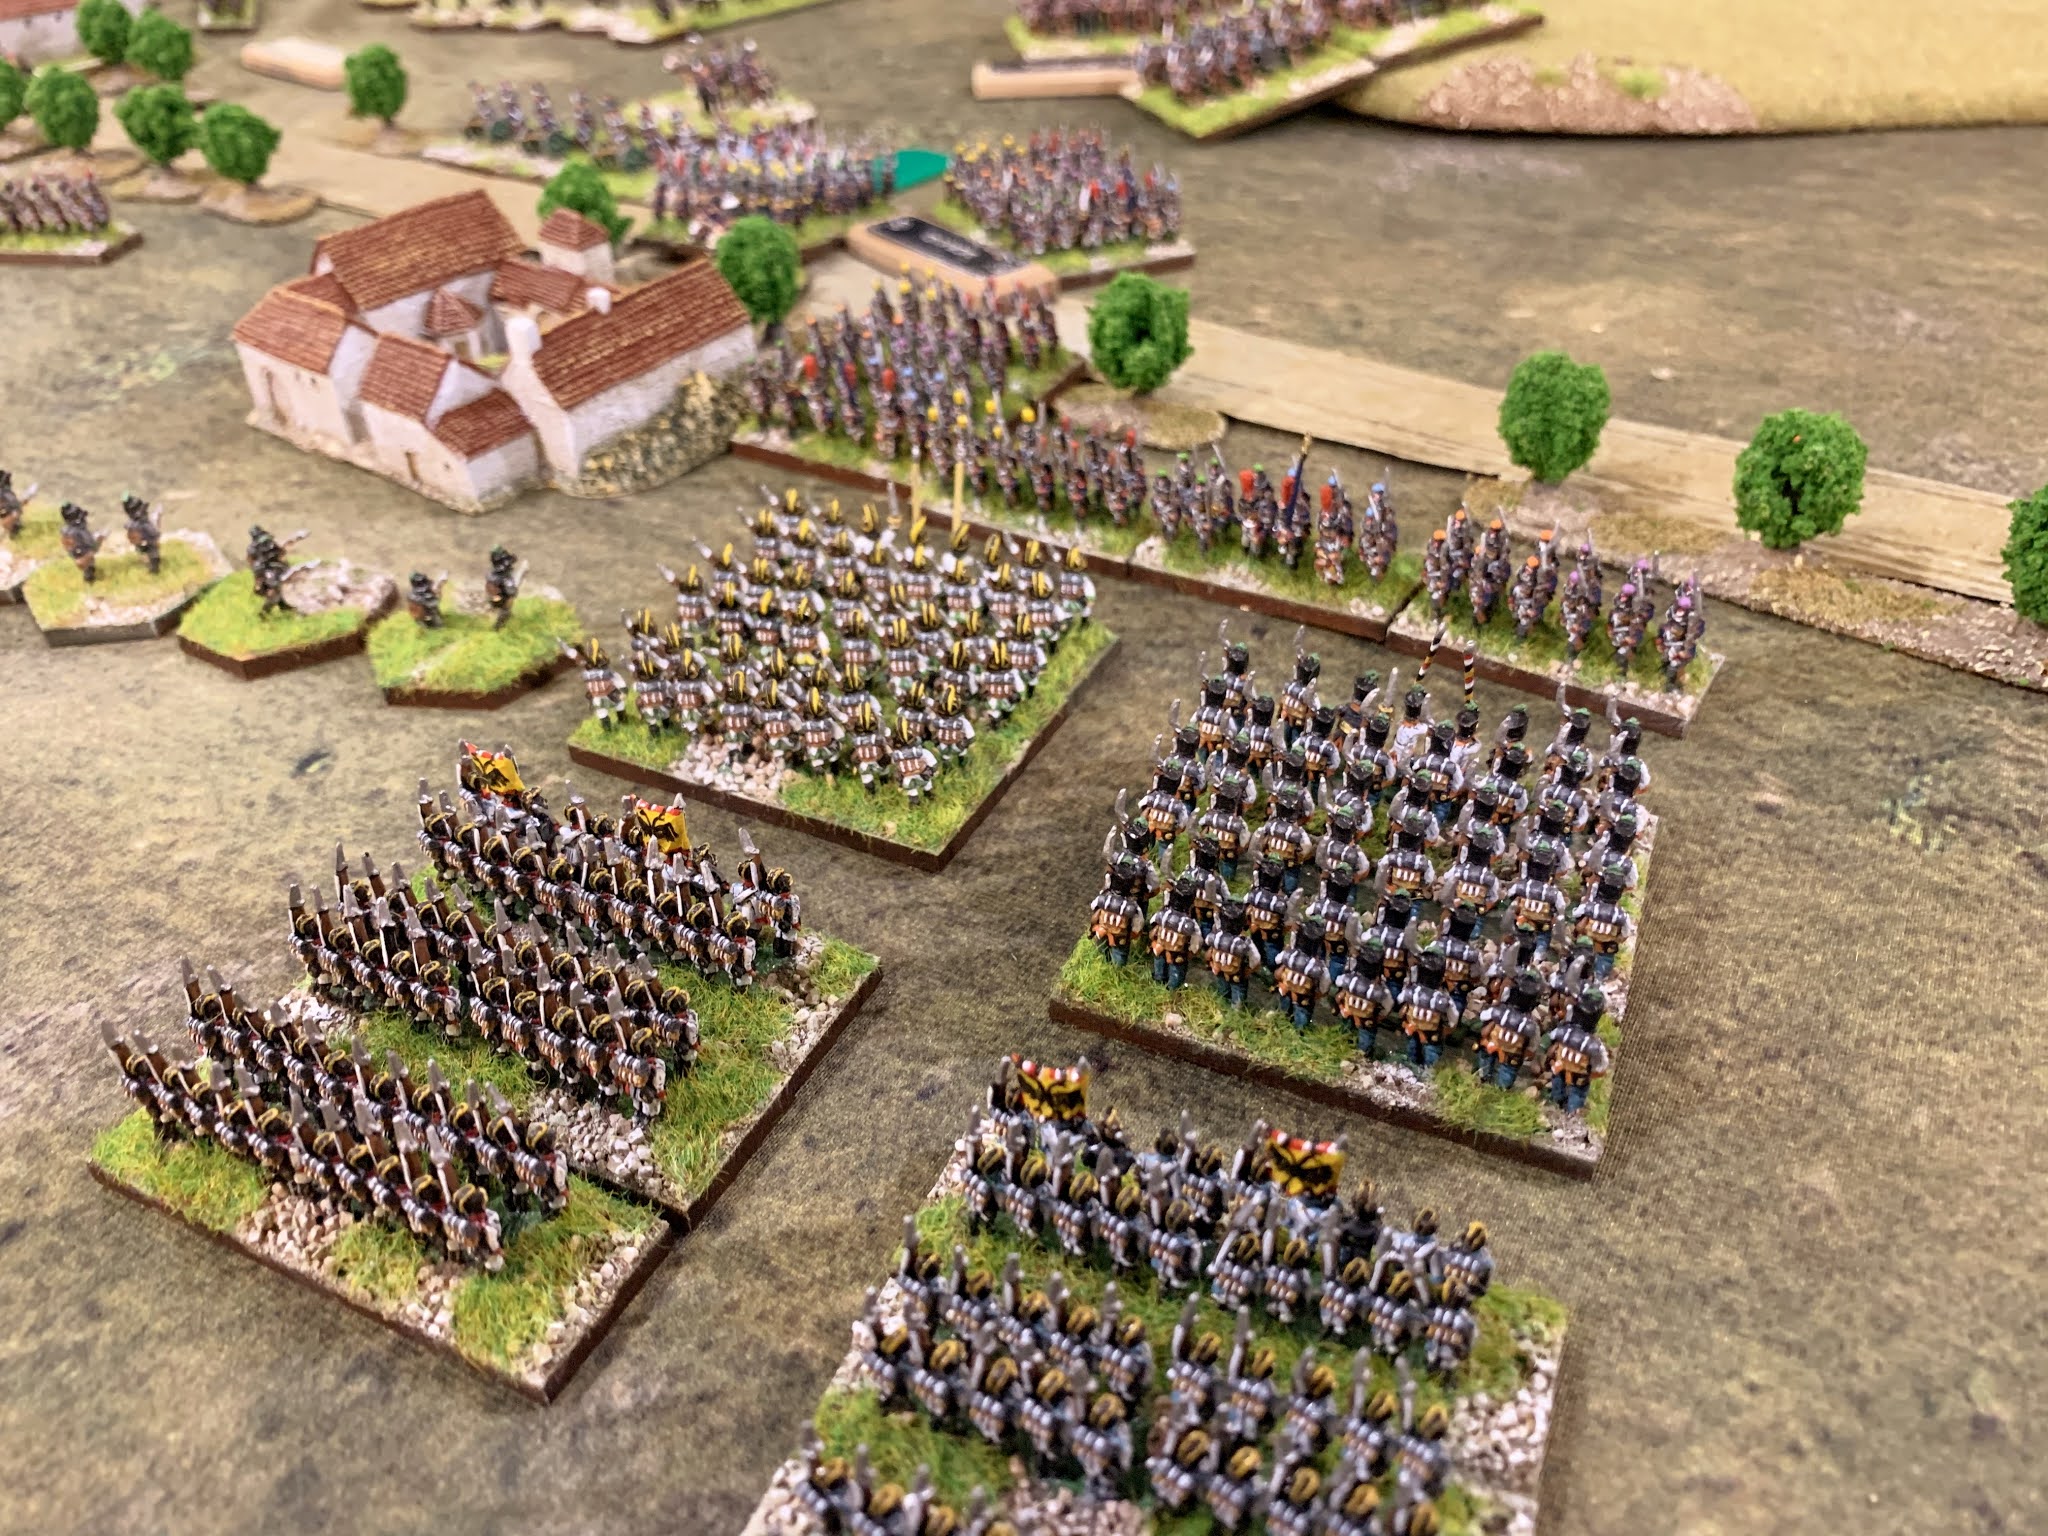
| The Wurtemberg brigade moves up for the French to stiffen the line. Beautifully hand painted flags by Tony who also painted these fellas. We have another brigade of these on the way creating a division. |
 |
| Here four Austrian brigades assault the French held line of villages, farms & hamlets. |
 |
Success! Austrian skirmishers occupy a village as the hefty line battalions force a French retreat.
Bottom right, Grenadiers released from reserve double pace to exploit the breakthrough. Sadly this success was short lived as the lead attacking brigade soon faltered. Sad face. |
 |
| Vicious firefights & hand to hand fighting erupt along the line in this sector. |
 |
| The tight nature of the fighting got tighter as French light cavalry try to intercept Austrian foot in support of the Swiss brigade - both were repulsed. |
 |
| Top left - a French brigade counter attacks in an attempt to draw off the Austrian assault. |
Austrian attacks on the centre right
 |
| Line versus column? I don't fancy the odds for the French here though. |
 |
| Austrian infantry brigade patiently waiting in the second line. Their battery has deployed lending fire support to the lead brigade. |
 |
| Light cavalry from Ney's Corps have redeployed to face Austrian counterparts. This confrontation was to escalate out of all proportion... |
 |
| Two Austrian brigades assault a lone French brigade in the contest over this village. Skirmishers pop away at each other. |
 |
| The French garrison lose their collective nerve & leg it! Their brother are left somewhat precariously facing a massed Austrian brigade in attack columns! |
Cavalry action north of the centre right
 |
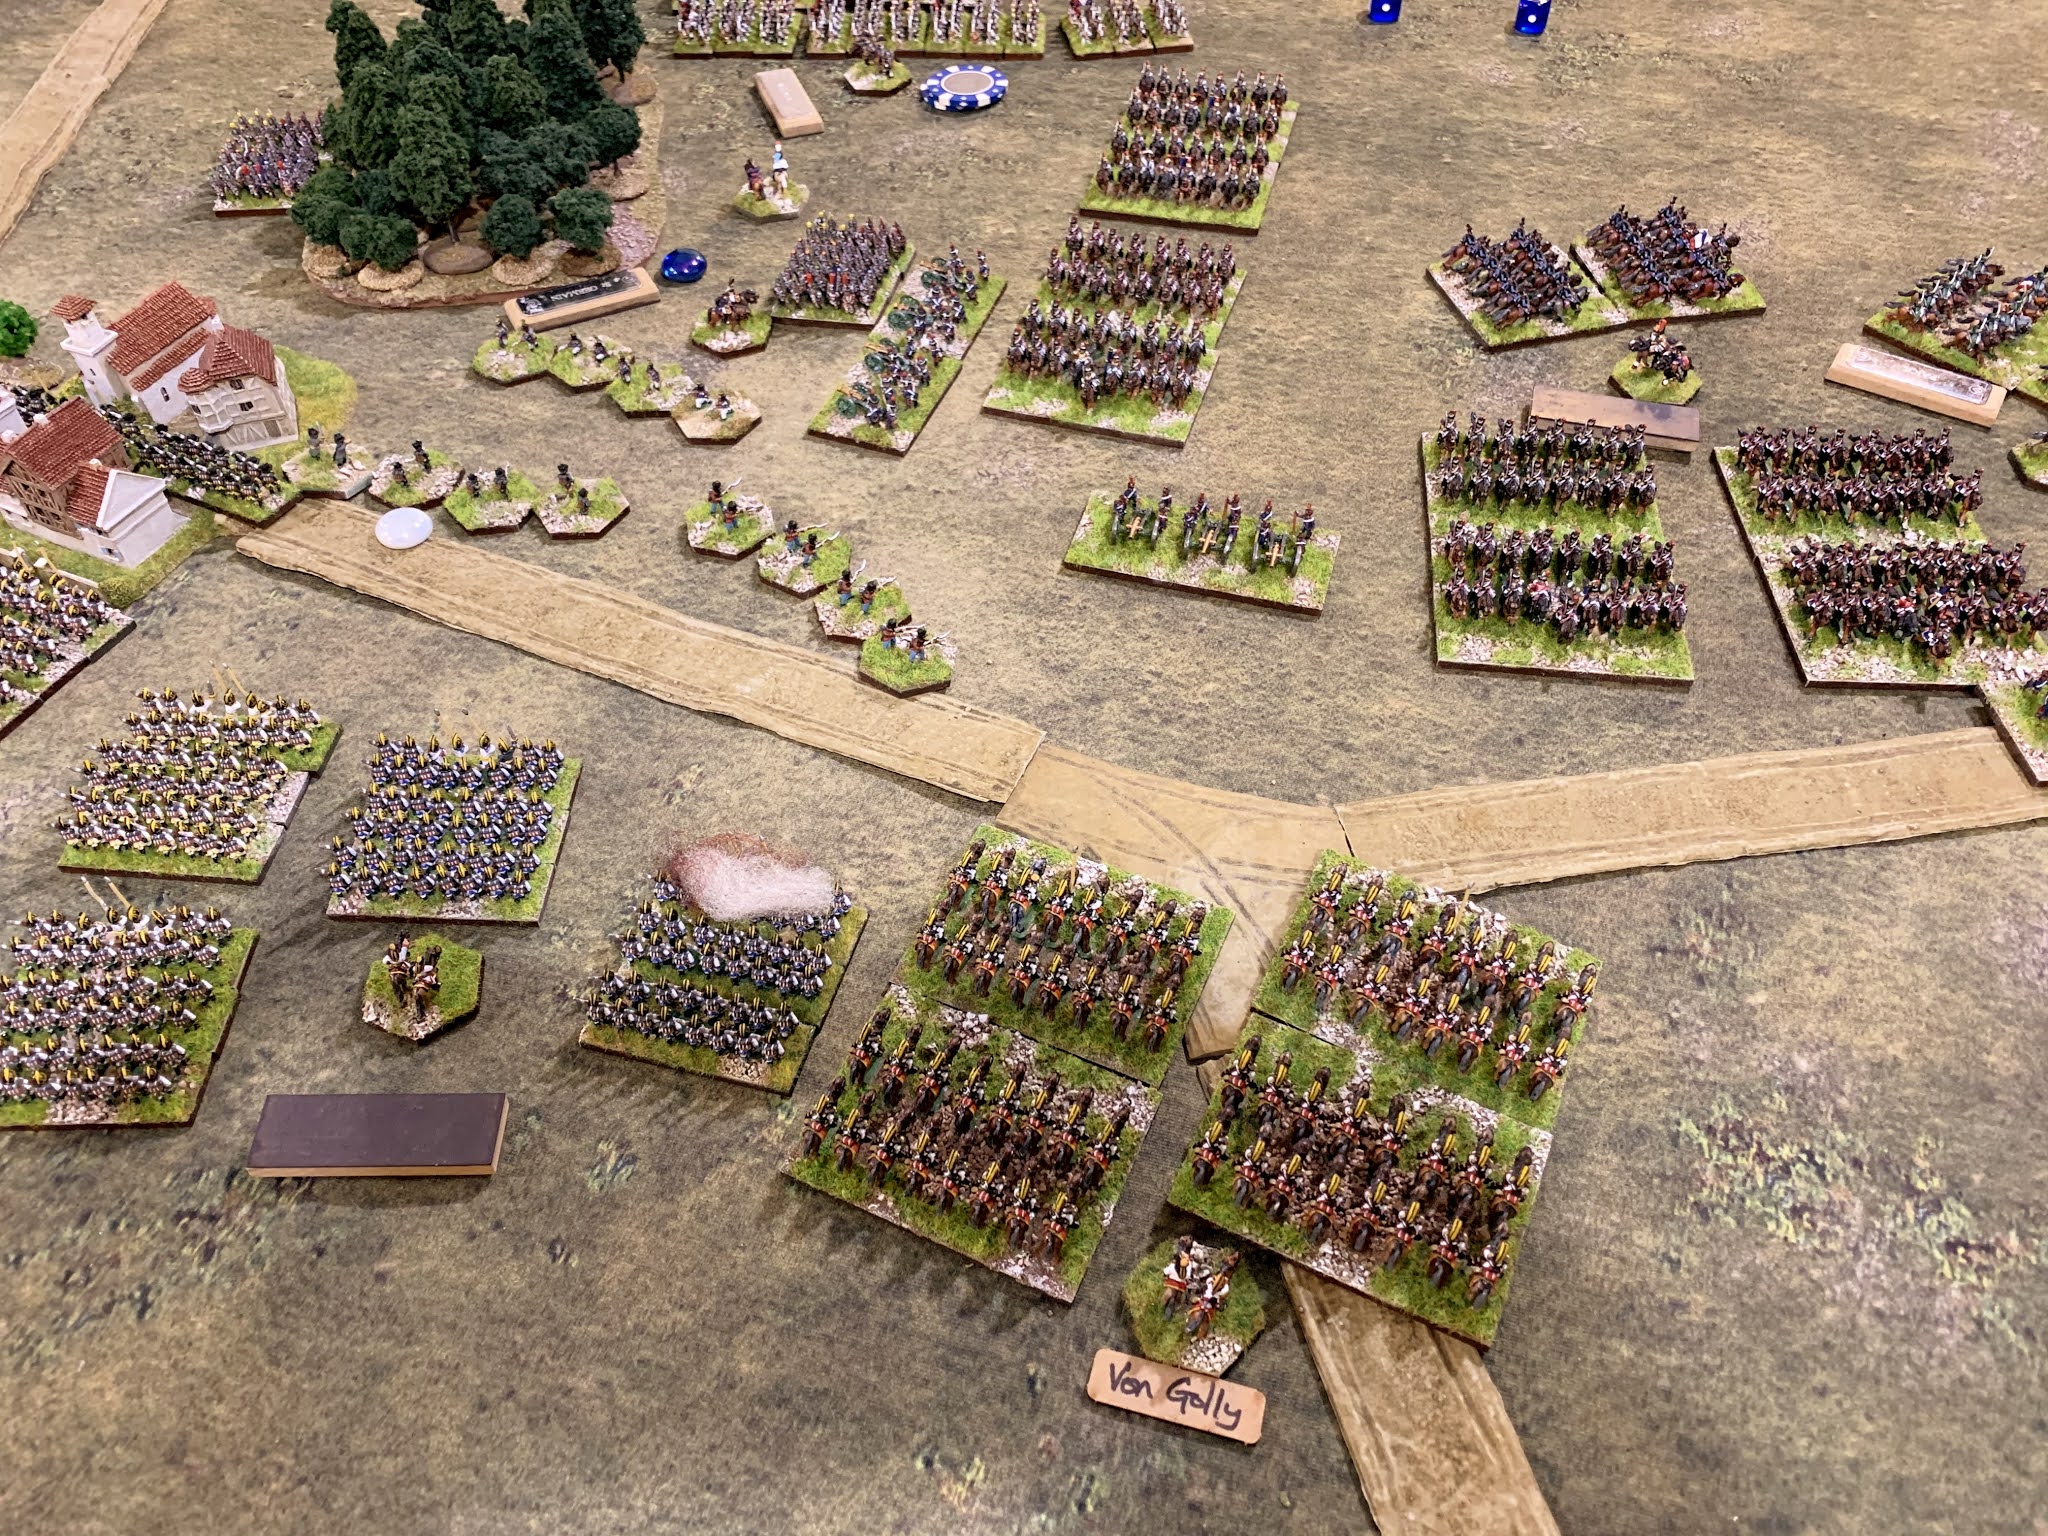
| Three large regiments of Austrian cavalry, two of uhlans up front, one of hussars in support. The French boast a mix of hussars & chasseurs a cheval. My money is on the Austrians here. |
This confrontation between French & Austrian light cavalry brigades took a while to kick off. In many respects there was never any need for it to happen at all. The main battle was elsewhere but in theory the victor could swing around to interdict the infantry in the centre.
The Austrians had no realistic counter for this. Many brigades were bled dry & the tide had turned against us. Calling off the attack I effectively conceded before the French heavies & Guard cavalry could interfere & prevent an orderly retreat by slaughtering us in the open!
Conclusions
The most important criteria was fulfilled - namely the four Marauders had another hectic & tensely enjoyable wargame - Bravo & Hurrah!
The scenario design mechanic reflecting Ney's command worked a treat. The usual GdA command & control rules kicked in later & really showed the superior French system at work especially once Napoleon rocked up! The Austrians had every chance here but we blew it!
One thing I would change is the terrain layout. With all the table top space available to us I made the flanks too wide at each end & the centre too cramped. One foot at each extremity of the centre would have meant less crowding in the mid board. Also the flank marchers, namely the Poles & Westphalians, would have a greater chance of involvement but no certainty of that. That's a lesson for next time.
From a generalship point of view I have to learn how to insert a supporting brigade into the line when the lead brigade is spent. This is no mean feat on the table top when the enemy are staring down a gun barrel at you! Practice makes perfect I hope.
There we have it - an emphatic French win over the Austrians. Well played Chris & Rich, commiserations to Tony & I; there's no prize for second best in War.
We'll be back...
I hope you enjoyed this one & find some time to comment. Best wishes, stay safe out there,
Jeremy


