Hi again,
this is a rarity isn't it? Two posts in a week!
 |
I like to think the Austrian Hussars & Uhlans bivouacked here overnight. Here we find provisions for men & mounts. The officers kicked the farmer & son out into the night & partied with his wife & daughters.
It would a "last supper" for some. |
I adjusted the table from last week & we roughly doubled the figure count, enough for a two week game - that's all the time we have left before our trip - Gulp!
The aim was to get the rules right & start to nail down some tactics. More importantly to relearn how BIG battalions & brigades fit into tabletop space, how they move & deploy correctly. Napoleonic battlefield maneuver is literally about "time & space"; it's very easy to create bottlenecks, screen your own guns, miscalculate travel time from A to B, support distances etc etc.
This engagement should be seen as part of a larger battle boiling around the area off table (possibly in 1809). Each has approximately one Corps with inherent artillery & cavalry. Both sides have competing objectives to give a narrative dynamic & structure to the battle i.e. a reason to fight & die. This is much more satisfactory than just blowing chunks out of each other! I'll cover these objectives below as they crop up.
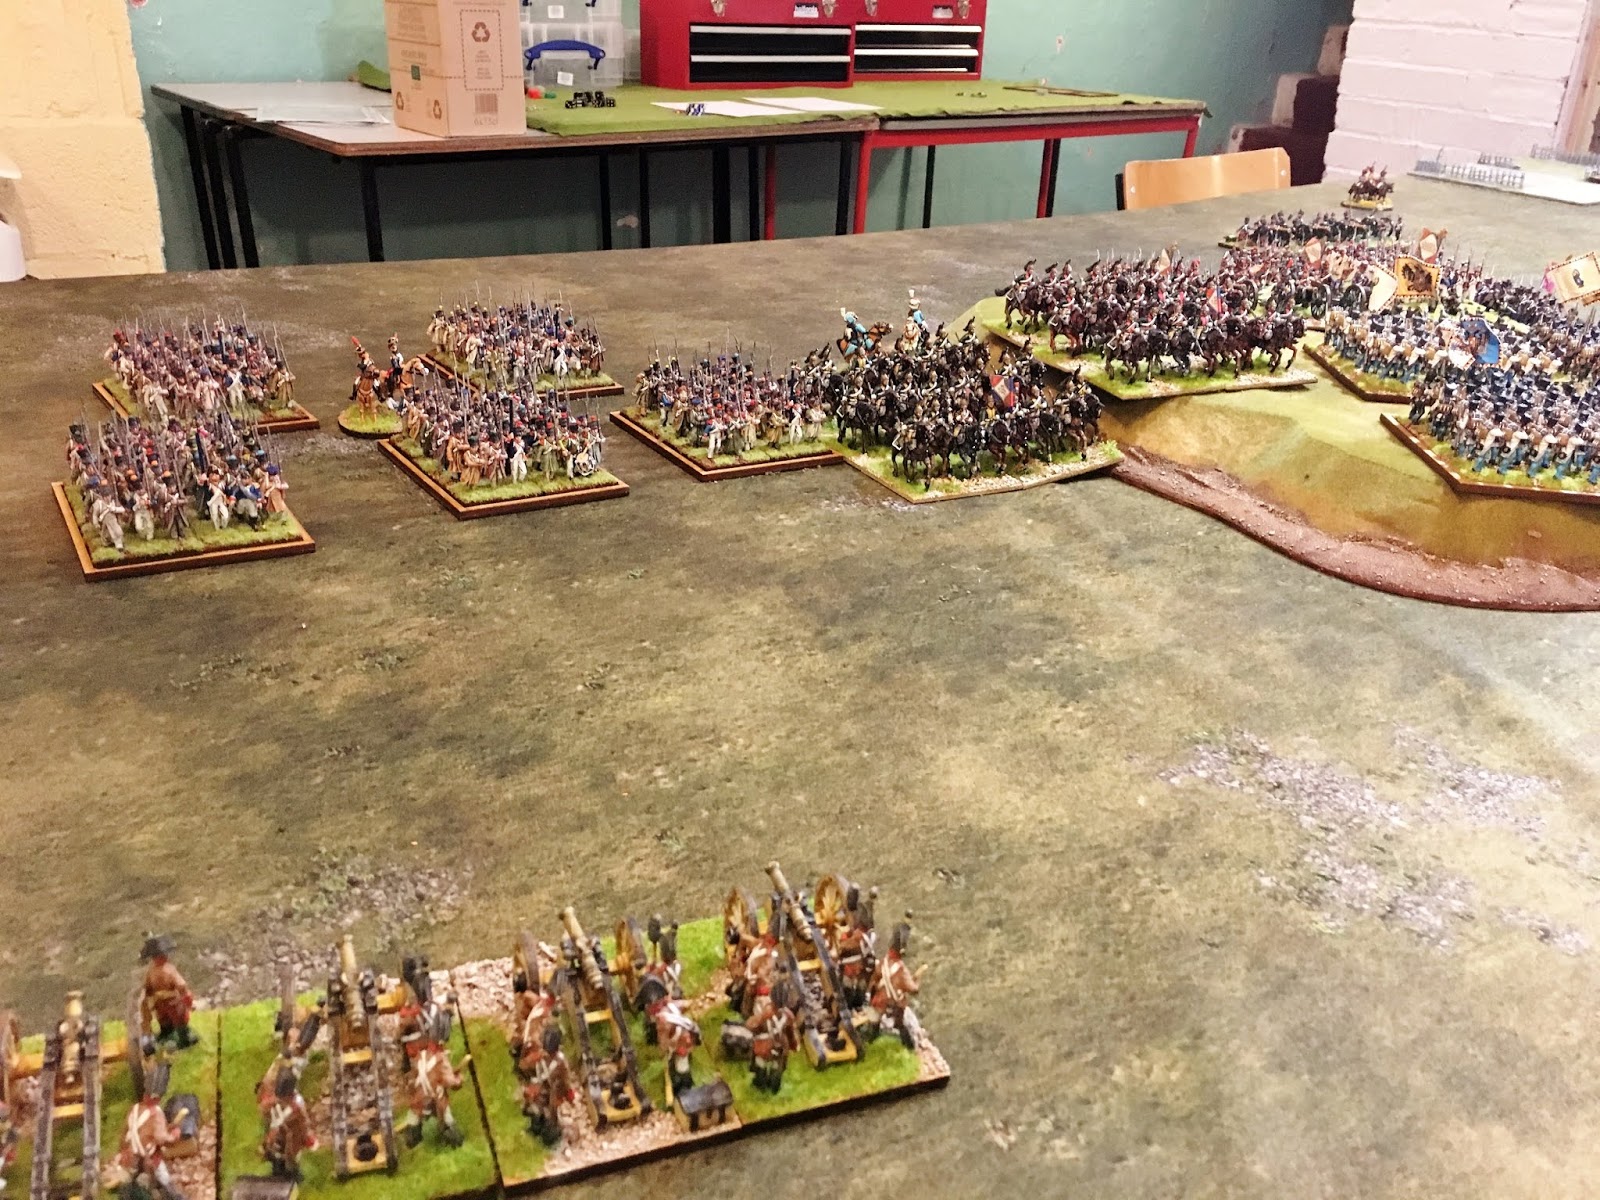
Austrian deployment.
 |
| The Austrian extreme left. A light cavalry brigade leads a brigade of predominantly Hungarian infantry with artillery of screen to the right. Their objective is the hill in front of them. |
 |
| The centre is held by two smaller infantry brigades. They are tasked with capturing a road junction in the French rear lines out of sight behind the church and cemetery. |
 |
| The second Austrian brigade in the centre. Their foes gather in the distance... |
 |
This light brigade consists of jaegers & chasseurs. One battalion lines out on the crest the other two shelter in dead ground.
The brigadier doffs his hat to you, say "hello". Where are your manners? |
 |
| These grenadiers will occupy and hold this hamlet which is a vital objective for the French. |
 |
| Looking down from the hill crest at the gathering Saxons. This small brigade covers the flank of the hamlet. Another Brigade with attached 12lb foot battery covers the other side - no pics available as yet. |
 |
| The two central Austrian brigades set off, one around each side of the church to converge on the junction behind it. |
 |
The Austrian commander directs operations. This dapper dandy wears the uniform of Insurrection Hussars.
The Kurassier's horse has fallen asleep; it's rider waits silently for orders before galloping back to the regiment waiting in reserve. Will they fight this day? |
French deployment.
 |
| These fellas will fight today - very soon. French brigade of dragoons, we kept these to 24 strong, the 32 strong "large" regiments might unbalance a small game like this. That hill is their objective... |
 |
| French infantry brigade to the left of the Dragoons. They are tasked with taking & holding that hill. The attached battery will cover their advance & soften up the opposition. |
 |
The French centre is held by this Nassau brigade with attached Portuguese Legion & some Swiss skirmishers.
A mixed bag!
They are defending the road junction form the Austrian central attack. |
 |
| This French foot battery attached to the Saxon brigade which is ordered to seize that hamlet in the distance. |
 |
A French brigadier & ADC. Notably the ADC is one of the last miniatures I ever painted.
Barry Hill did the other chap & all the infantry, literally thousands of them!!! |
 |
| Elite Miniatures horse battery attached to the brigade of Dragoons, this proved to be a vital asset. |
 |
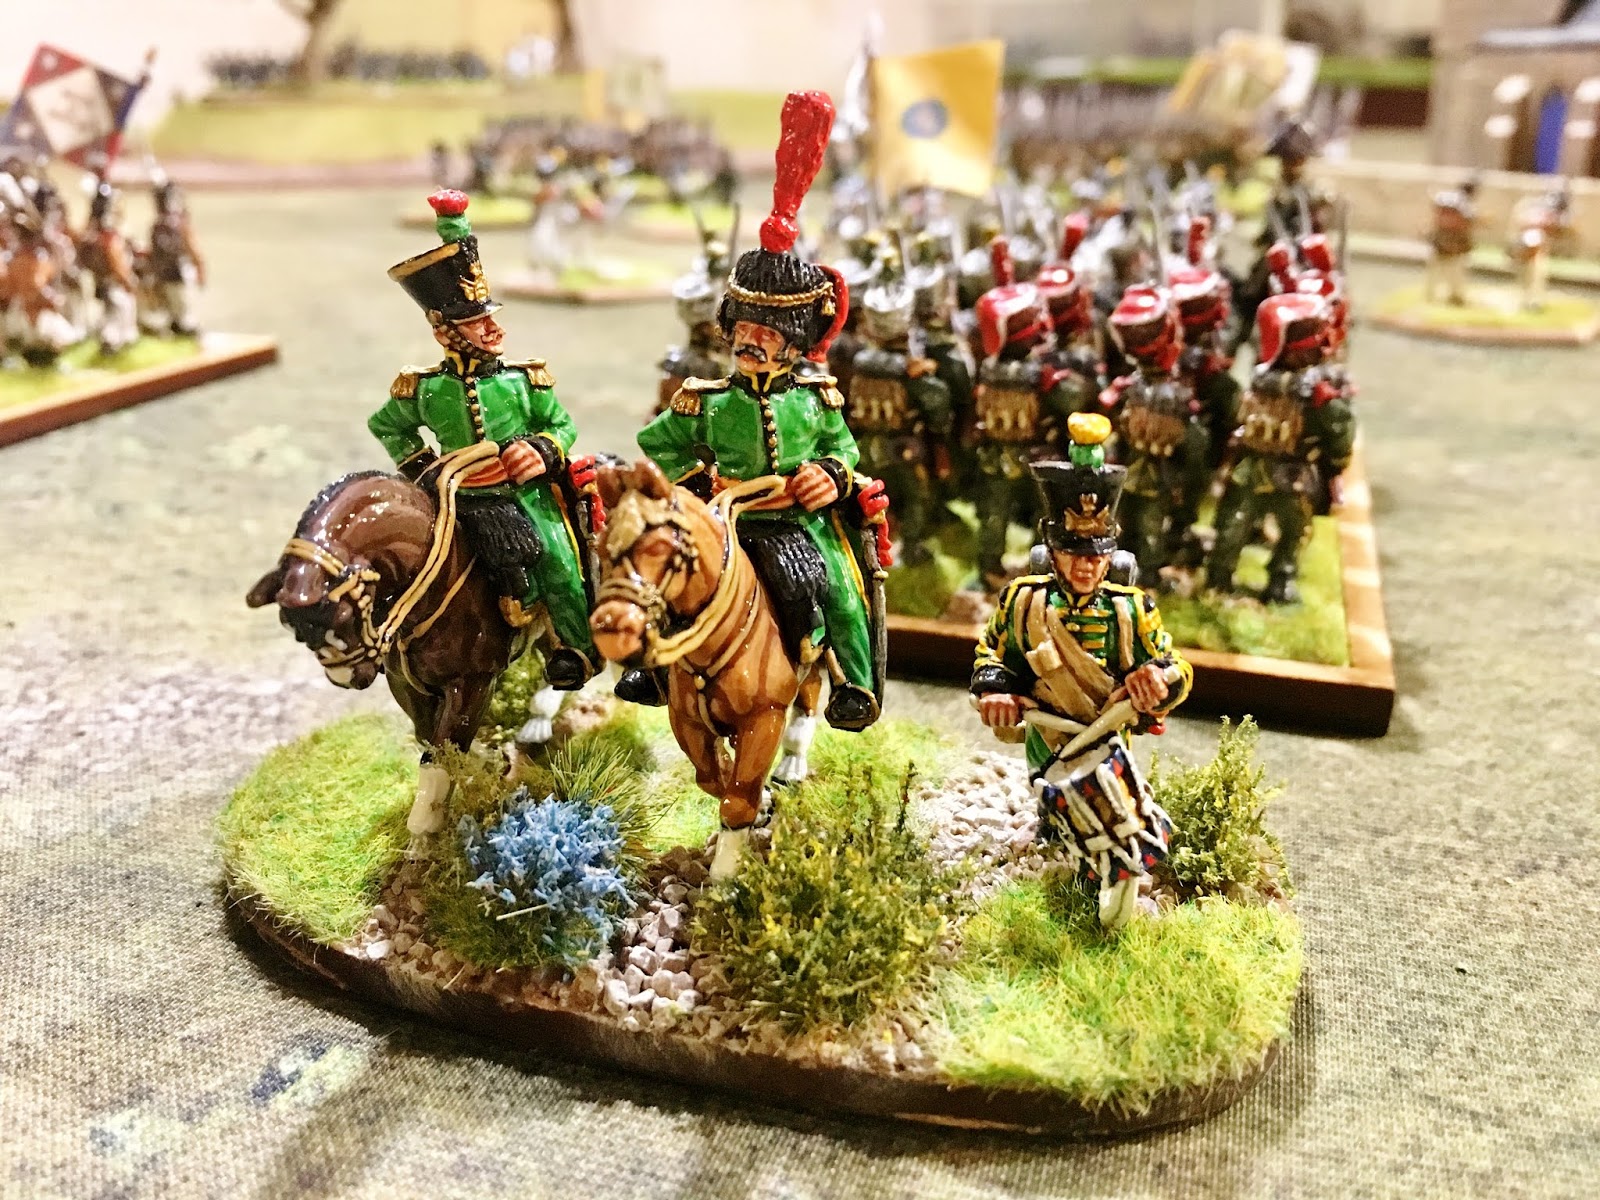
Amazing command vignette from my collection. Trent Miniatures models painted as senior staff of the 5th Hussars.
Bruch work by Tony Laughton, based by me. |
Action on the French Right - it all gets a bit buttock clenching...
Chris in Command of the Austrians had ordered his cavalry brigade & two infantry brigades to advance & capture the largish hill on his left flank, my extreme right. My forces were very slow to get started so were wrong footed by the sheer speed of the Austrian "surge". Before my boys had finished morning coffee there were Uhlans with pointy sticks threatening my 2nd class brigade & my cavalry were unprepared for the attack which looked imminent... to make matters worse a few dirty great big 48 strong columns came over the horizon. Basically I was caught with my knickers down!
 |
| Here's how it looked. French 2nd class muck in the foreground with Uhlans breathing down their necks. Austrian Hussars threatening my dragoons who have rapidly deployed their horse battery. Two Austrian infantry brigades are converging on the hill top opposed only by a few skirmishers as my brigade hadn't even got up the slopes yet! |
 |
| Same situation as above - different angle. The Austrians have even deployed a foot battery - see top right of centre. |
 |
Down in the front line. This Elite Miniatures horse battery attached to the dragoon brigade is facing a charge immediately after deploying.
"Load canister & FIRE!!!" (try saying that in an "Allo Allo" French accent - go on). |
 |
| A turn later & disaster is averted. |
This tricky situation played out as follows, in no particular order; the big Austrian column was stopped dead in it's track & unformed by the horse battery firing cannister. The Dragoons pulled off a charge against the Hussars who counter charged, the heavier cavalry & numbers carried the day as the Hussars retreated & the Dragoons took the ground. This exposed the flank of the Austrian infantry brigade. The Austrian Uhlans charged the front of two fresh French columns who fired delivered deadly volleys at the lancers who were driven off fleeing to the rear. Some remarkable luck has saved the position.
Phew.
For now.
The battle in the centre.
 |
| French foot battery fires at Austrian infantry as they advance across open ground. |
 |
| Jaegers out front sniping & hiding. Landwehr in the middle. Generals at the back... "Leading". |
 |
This fellow has the right attitude - charging the Frenchmen with only a feathered hat in hand.
"HUZZAH!"
These Hungarian Grenz are advancing on the hill top objective too, this is still going to get messy. |
 |
| Hmm, another case of leading from the rear. LDW on the attack. |
 |
Austrian Grenadiers hold this deserted hamlet from the French for whom it is an objective.
Some patriotic soul has dusted off a Hapsburg Imperial eagle - "Screw you Boney"! |
 |
| This handsome chap is the Brigadier who leads the Nassau brigade. Front Rank models painted by Tony Laughton. |
 |
| The action in the centre begins. The Austrians seem to be winning the skirmisher battle. Two Austrian brigades are converging from around the church. A Nassau battalion forms line for greater fire effect. |
 |
| A "target rich environment" for this French battery. |
 |
| The Austrian central attack is developing. The brigade to the left is late to the party due to disruption from French artillery fire at long range. This is a good historical outcome in my view. |
Other shots & angles.
 |
| Over view of the battle for hilltop. There is still everything to play for - real ebb & flow stuff as a second assault builds. |
 |
| Delayed but still determined; Austrian foot round the church yard & see their objective for the first time behind that Nassau battalion in line - this will be bloody. The French battery which punished these troops is top centre. |
 |
| A parting picture as the battle rages across this meaningless hill top. More guns move up... |
That's your lot for this week, we aim to finish this on Tuesday so I may get a conclusion up next week.
General d'Armee are a brilliant set of rules in our opinion. Things "happen"! Battles look like the maps & paintings you see in reference works & museums.
The command decisions you make have a real impact BUT the Fog of war can still cause command paralysis. You must have a plan & then stick to it - maintenance of aim.
Historical deployment & doctrine give you the best chance of wining. For example, the initial Austrian attacks went in without any softening up of the enemy, there was no build up. So, charging a fresh, formed up enemy with artillery support is deadly & unlikely to carry the day. Had the gamble paid off however he would have won the game in about four turns & be remembered over ales for years to come. Sometimes fortune favours the brave - that's why we play these games to a certain extent.
You may well ask "What about the Saxon & Swiss attack on the French left?"
Good question, the truth is it never really started. Those two brigades spent most of the game hesitant! One must assume the orders weren't correctly translated, the ADC killed or captured, the generals might have been reluctant to attack, ground conditions were poor, who knows. may be next week it'll hot up?
This has been a real pleasure to play & write up. Hope you enjoyed it? There's more to come.
Best wishes,
Jeremy


