Now that we are pretty much free to play again at Marauder HQ it's time to play a big game & write a batrep for you. We are now in possession of the latest batch of newly painted figures which once based will feature in the Cloppenhammer game we messed about with during lock-down.
 |
Positions at the Battle of Flutzen - End of turn 1.
|
This is as usual a fictitious battle but one inspired by one of my favourites to re fight; no prizes for guessing which one. Marshall Ney has camped his Corps consisting of five infantry brigades & attached light cavalry brigade amongst five farms & villages for the night. Without deploying scouts & picquets they are all asleep & blissfully unaware that Archduke Charles is descending on them. The remainder of the army is a few hours march away & Napoleon with the Guard is further away still!
The scenario
Ney's starts the day in camp having breakfast - le petit dejeuner. Each brigade is based around a farm or village with the cavalry on high ground to the rear. All other French divisions are off table to arrive later. One may arrive on the southern flank table edge the rest along the western table edge. The reserve heavy cavalry cannot flank march and the Guard with the Emperor must arrive last along the main road traversing the battlefield The Austrians are deployed to attack, their reserves and one brigade are trailing.
Note that we have begun to deploy by & think of the army in Divisions. Naturally these are made up of Brigades but it adds a level of structure & some deployment limitations and adds further flavour. Once deployed the brigades act as usual within the rules as there is no Divisional level commend in GdA. As the collection matures & grows we can think about Corps levels too. In this game for instance Ney's Corps is depicted comprising two Divisions, one of two infantry brigades, one of three infantry brigades, a light cavalry brigades & divisional artillery which is attached to one infantry brigade, in all 20 battalions, three light cavalry regiments & associated batteries - quite enough to occupy one player for a while at least!
 |
Marshall Ney directing artillery fire. He is the Corps commander & C-in-C until Napoleon arrives with the Old Guard - everyone loves a visit from Head Office.
|
To replicate the surprise & confusion amongst the French they suffer penalties to ADC tasking in the first three turns. ADC are only activated on a d6 roll of 6 in turn 1, 5+ in turn 2, 4+ in turn three and then the usual 3+ from turn four. This means most brigades will be hesitant in the early turns although if activated once they are then available on the usual roll of 3+ in future turns. This fits in nicely with Command & Control rules in General d'Armee - our favoured big battle rule set.
Dispositions of the French & Austrian armies at Flutzen
The first French reinforcements arrive & the battle opens
 |
| On the Northern French flank the first fresh forces arrive to rescue Ney. This is the Westphalian Division consisting of two infantry brigades; each of four battalions, one has a foot battery attached. There is also a Divisional light cavalry brigade of two regiments. |
 |
"Marching to the sound of the guns."
Further trailing forces for the French. This looks like the Old Guard, heavy cavalry reserve and the Polish division. There are a few more on the other French back board. |
 |
A close in shot of Austrian light cavalry in the north. These are three large regiments, two of uhlans up front with hussars to the rear. The farm in the foreground was my first test piece for the 10mm project, the roofs need painting terracotta, the edges sandy and flocked. The adjoining vineyards are pretty!
|
 |
Bergman's German line & LDW advance behind skirmish screen. Two things need doing here; firstly flags; Secondly new Brigadier name plates. Rich has sourced a producer, an order will be placed once Chris submits a suitable list of historical names. Get on it mate ;)
|
 |
Cute village from Total Battle Miniatures 6mm aptly named "Big Battalion" range.
I painted these & have a few larger villages & more farms to finish, hopefully this month. |
 |
French foot battery from Magister Militum painted by Barry's boys who did almost this entire collection - Hi guys!
|
 |
Another master piece from Total Battle.
|
 |
French dragoon brigade arrives with a horse battery. These are in the south facing off against the Austrian Avant Garde & supporting Austrian dragoons.
|
 |
Looking due north from the southern table edge. The Poles are due to arrive here at some point.
The newly arrived French dragoons are in the left foreground. This shot also shows the space available to us now - of course there are plenty for toys still to deploy.
|
 |
Tony plays a forward order on this brigade - he is determined for this one work!
|
 |
Close in shot of the French defending this village.
|
 |
The two southern most of Ney's brigades set up a strong defensive position before the
"White Storm" breaks against them.
|
 |
Tony's "White Storm" crashing into Ney's southern most positions.
This is a brilliant shot across Tony's attack in this sector - great to see a second line - something we have been striving for since we started the 10mm project. |
 |
French infantry columns line abreast ready for the Austrians as Jaegers snipe at them.
|
 |
The Avant Garde drive off the sheep to occupy the high ground in the south.
(Sheep now top right - they may counter attack) |
 |
Austrian dragoons deploy for battle...
|
 |
French dragoons also deploy for battle near the heights in the south.
|
 |
Another divsion arrives to rescue Ney. This comprises Swiss & Wurtemberg infantry brigades plus a divisional light cavalry brigade. The Wurtemburgers boast a foot battery, note limber.
|
 |
Ney moves up battalions from his rearmost position to prop up the front line.
Nice depth in this shot.
|
 |
Voltigeurs engage with Jaeger & Grenz before the close order formations close.
|
 |
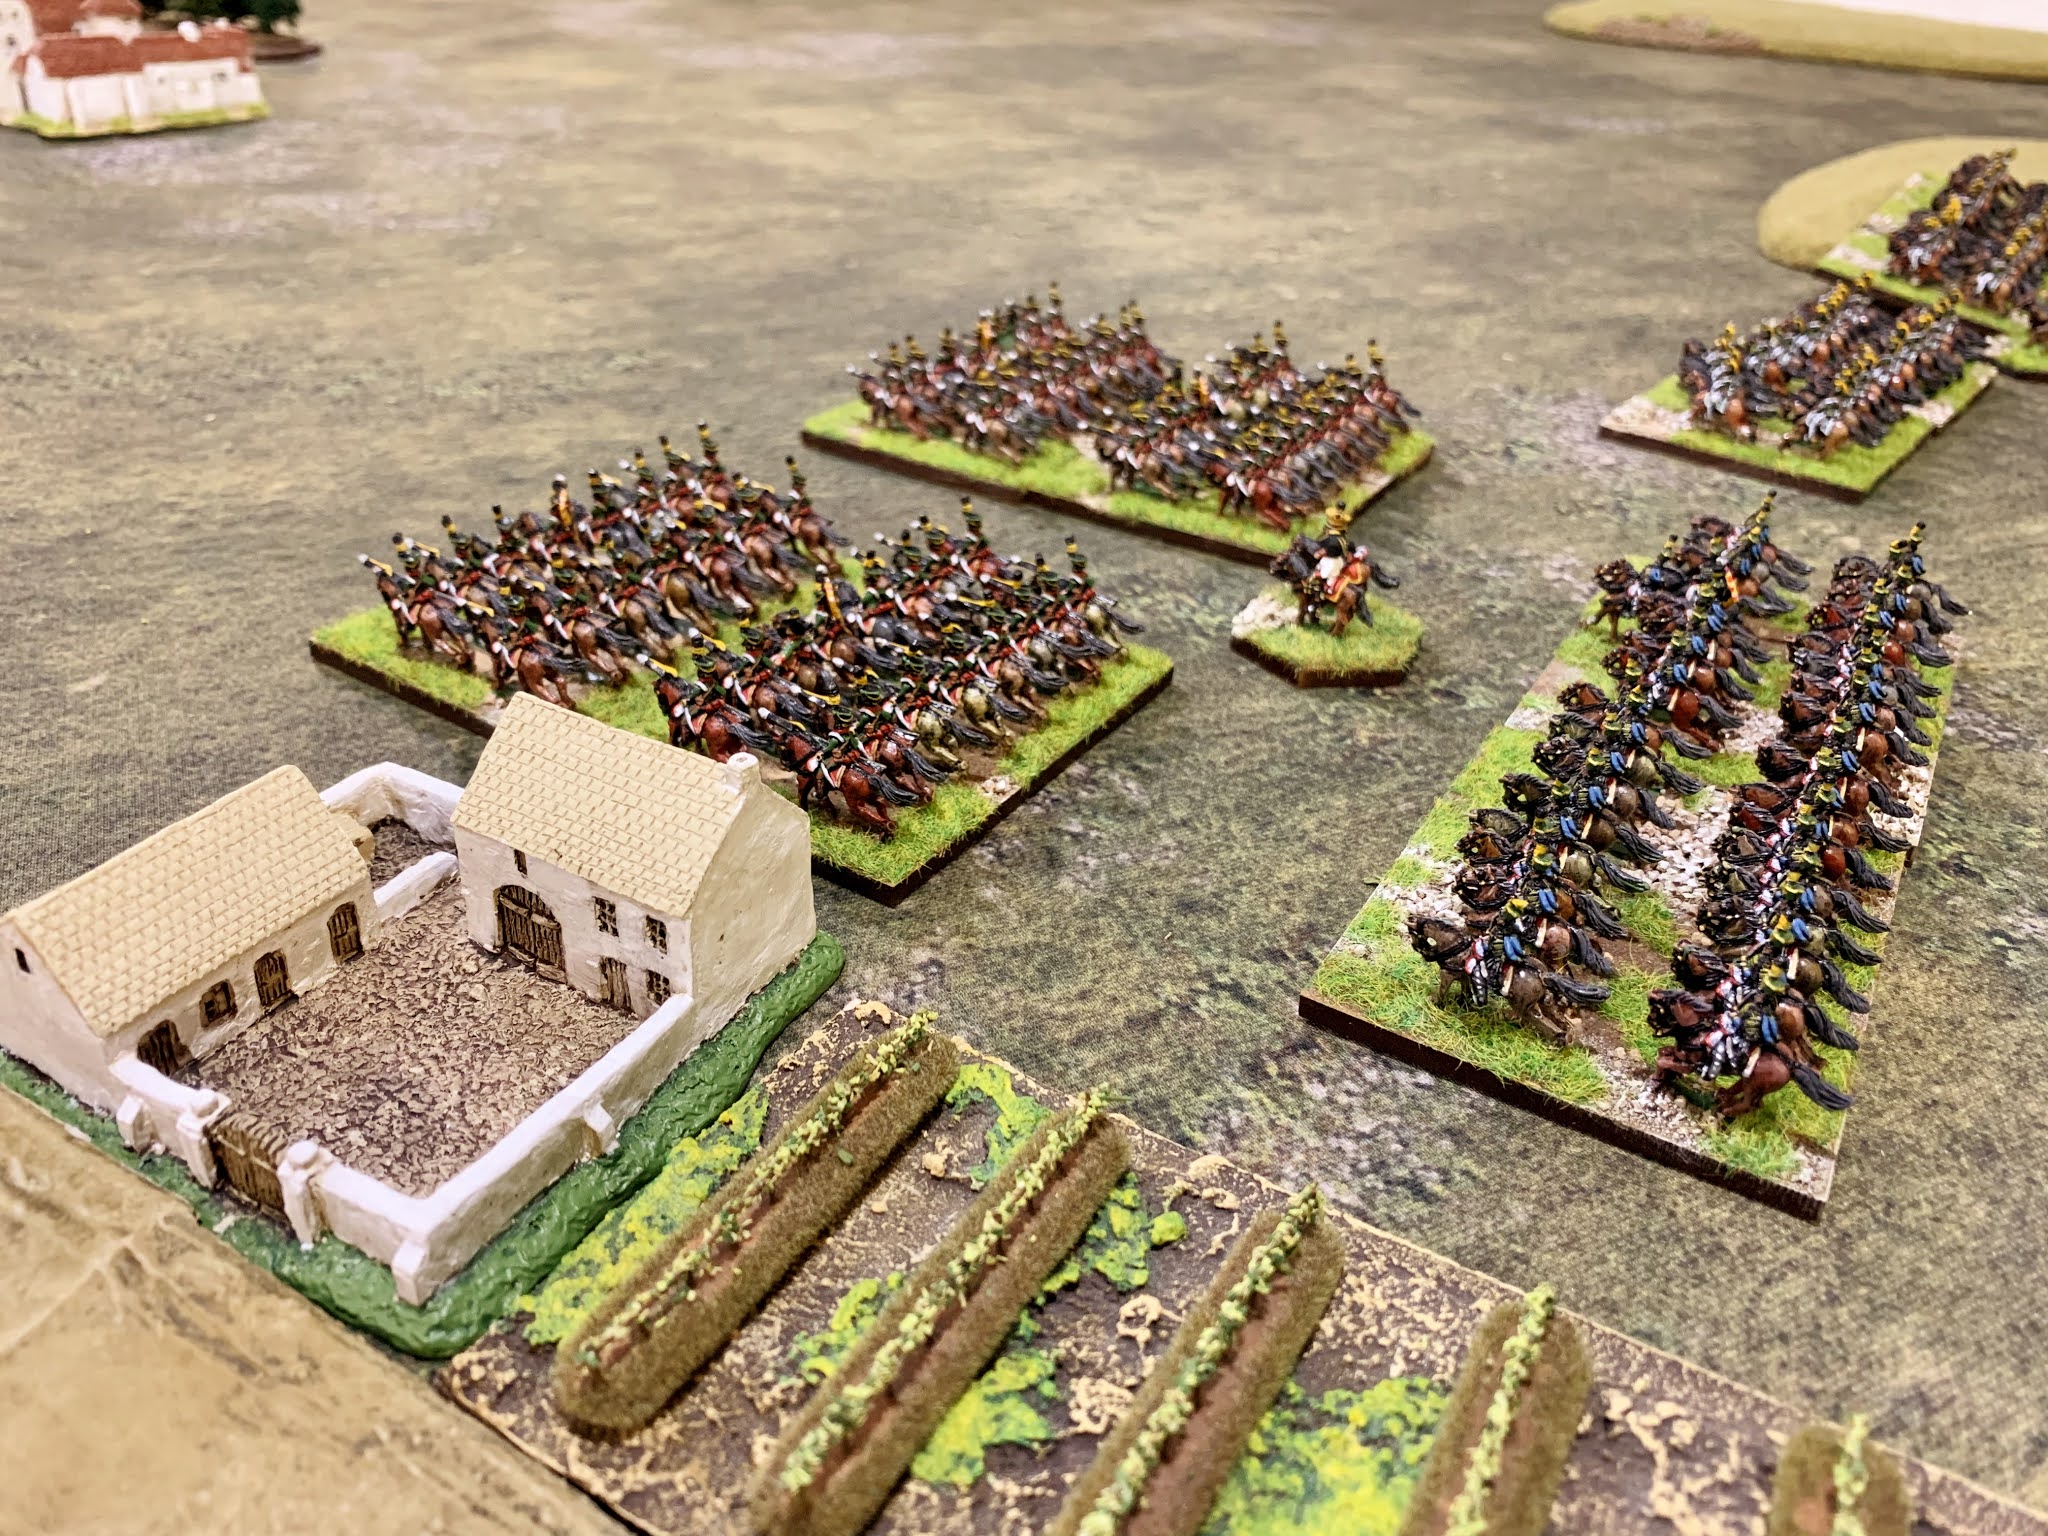
Ney's light cavalry brigade moves laterally across his rear to prop up/support the northernmost position. Two regiments of hussars one of chasseurs a cheval - pokey.
|
 |
Action in the North. Westphalian light cavalry come off worst in initial melees with Austrian Chevau Legere who outnumber them 2-1. This will be an interesting contest; can the Westphalians force a passage to the south influencing the main event in the centre OR will the Austrian lights deny the French some valuable respite. Let's keep an eye on this...
|
 |
Austrian light cavalry sit awaiting the order to advance.
|
 |
The first trailing Austrian forces arrive. An infantry brigade & a brigade of Grenadiers from the army reserve (top right).
|
 |
Hungarian infantry & LDW move up to support the front line of attack.
|
 |
Pressure builds in the centre. The Austrians have deployed a divisional 12lb foot battery as two others move up limbered. Skirmishers trade shots as the lines close - it's all kicking off!
|
 |
Someone loses fire discipline at the critical moment. Typically one of my regiments.
|
 |
Another brigade approaches the target village shown above.
Foot battery deployed to soften up the Frenchies.
|
That's your lot...
We managed 8 turns which is a good start. There is real peril for the French centre but with help on the way there is hope. The Austrians look strong but must race against time as they must defeat Ney before The Old Guard arrive to possibly swing the balance - it's what they do! Moving swiftly isn't what the Austrians do, especially under my command!
We play again tomorrow night so I'll try to post Part 2 promptly. The house rules used for the initial scenario moves seem to have delivered a challenge for both sides which is pleasing. Suffice to say, we have a lot of fighting ahead of us & a lot of formations still to commit - it's going to get very bloody as the street fighting starts to bleed both sides.
Best wishes,
Jeremy


I love your AAR! I wish I could paint 10mm or find someone to paint it for me. lol
ReplyDeleteThe guys who paint for me always want more work, pm me for contact details old chum.
DeleteCheers for commenting, best wishes,
Jeremy
Great stuff, your games are really good at allowing sweeping movements on the table and look good as well
ReplyDeleteThe TBM buildings are superb
Cheers chum! The whole "sweeping moves" thing is exactly what we wanted - real maneuver space - things get congested around key villages & features but that's expected I guess.
DeleteNice one Jeremy, great report so far! The delayed ADC's is a nice idea, still giving them a chance if not a good one!
ReplyDeleteHi Chasseur, thanks for noticing - that ADC function really paid off, needless to say we Austrians were too slow to take full advantage of the dozing Frenchies!
DeleteAnother grand looking Marauders bash, Jeremy.
ReplyDeleteAustrians launching a surprise attack, surely nothing could go awry...
A bientot, la deuxieme partie,
James
You're right James - what could possibly go wrong for the Austrians?
DeleteGreat game, as always. I understand the move to 10mm, I realy do, but it does loose out to 28mm on the eye candy. Your 28mm games always look so glamourous compared to 10mm.
ReplyDeleteI can't argue with that Paul - that's partly why we posted the Moscow Vogue photo shoot, sharing the goodness we lose out on at 10mm. It plays so much better with the tiddlers though.
DeleteAlways brilliant seeing the scale of your battles JJ. Very inspirational.
ReplyDeleteCheers Carlo, I'm very pleased to hear your kind comments, i just need to finish this Batrep off for you soon.
DeleteThe Russians have arrived...
Great as usual and loving the move to 10mm a lot, beautifully painted kit on lovely terrain as you did in 28mm. Although you are embracing the new found space in some ways you are still jamming battalions next to each other still. They wouldn't be able to deploy into line, now you have the space to do it. It's hard to get out of the habit but it does change how you approach things somewhat once you do! Not meaning to have a go just an observation!
ReplyDeleteThanks for commenting Iain & great to hear your kind words.
DeleteYou are of course quite right about the "jamming" effect. This is a player driven decision in part, partly the scenario which clumped the contested villages to close & too centrally - my fault as I write the scenarios! Lastly there is a rules consideration. GdA gives a series of bonuses (& balancing penalties) for having supporting battalions/regiments close by - possibly too close? We are also acutely conscious that our brigades sometimes get so close they can get muddled or even over lap once formations are forced to retreat. This brigade proximity is something we will try to address in our next game - we are aware & have a few ideas. Watch this space.
Very best wishes,
Jeremy
Phew glad you took that in the manner it was intended. I've been a huge fan of your site for years and was worried! Looking forward to the finale. I'm very familiar with GdA so understand why it's done. All the best.
Delete